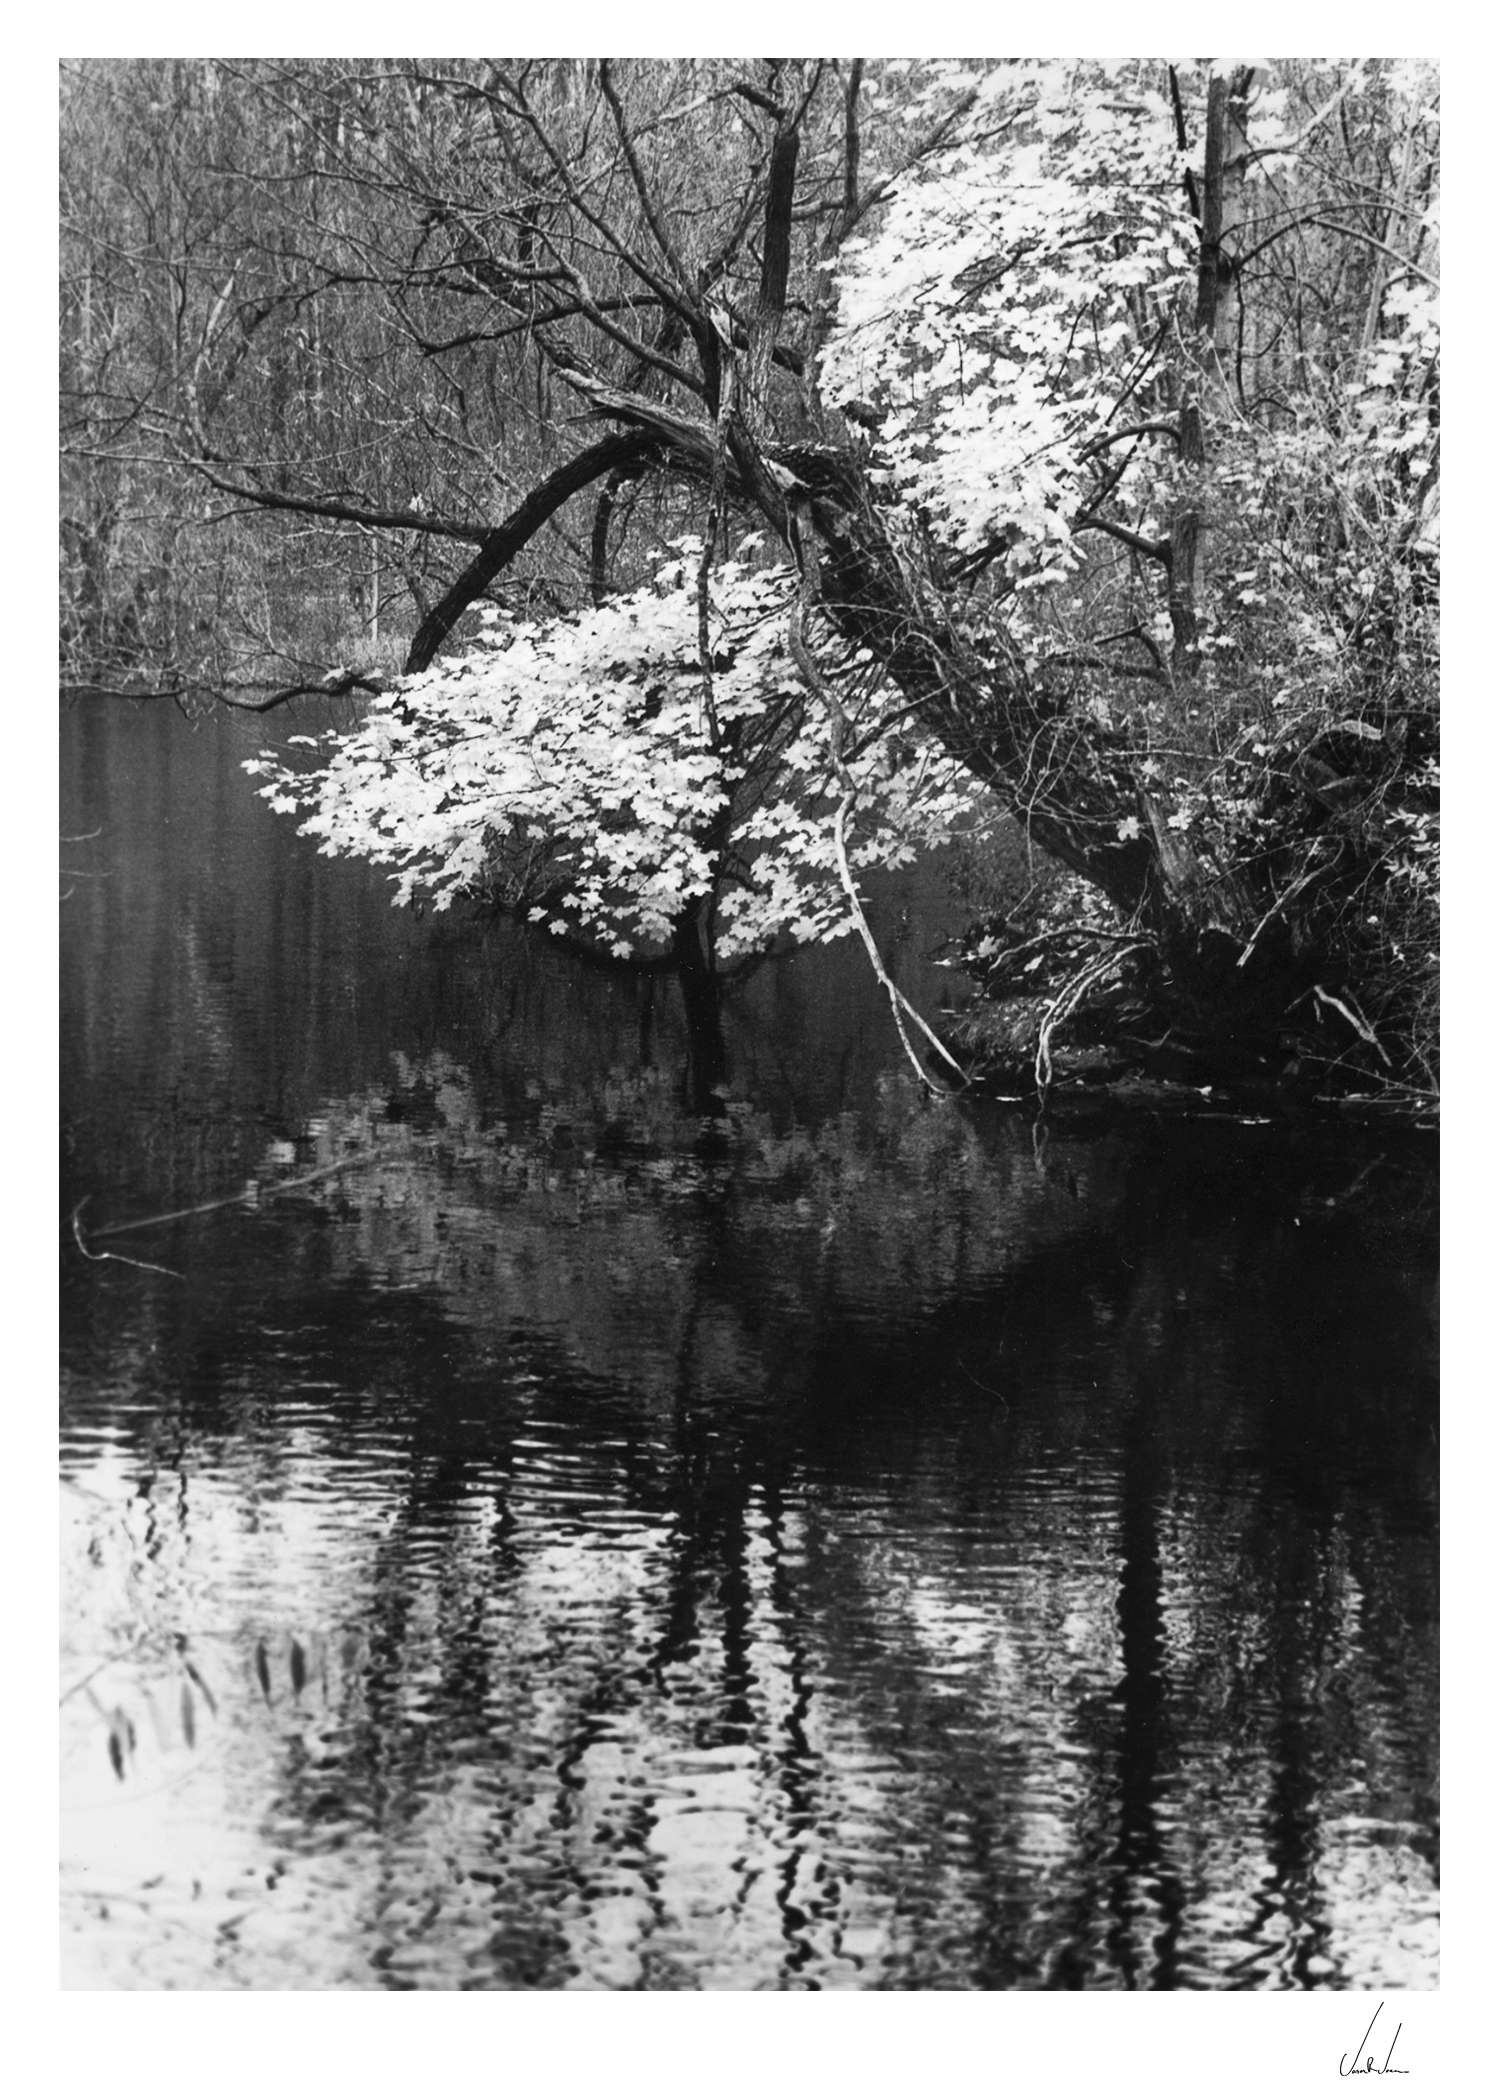
Hudson Hornet, Ypsilanti, Michigan - 1994, Jason Robert Jones
Every now and then the elasticity of our perception is put to the test as it is stretched a little bit further over the drum of our personal identity. I believe that I have recently enter into a new stage of personal growth and development as an artist as the signs that point this out to me have been knocking louder and louder in the cave of my skull. As creatives we tend to hold very strong opinions and adhere to very ridged concepts and practices, which we accumulate over the course of time through numerous channels. This of course seems counter intuitive to the very definition of creativity none the less we gather these thoughts, opinions and habits like a snowball grows in size barreling its way down hill until we hit a fence and what we identify with as our selves, our creative process and approach is challenged to its very core.
When we first started out on our creative journey we approached the act much like a child who has discovered snow for the first time. They are mesmerized by its beauty and in the way it floats lightly in the air like a feather. That it’s cold to the touch and that it becomes wet when held in the hand. It doesn’t occur to them that its just water, a liquid in its solid form, all that they know is that it’s magical, beautiful and above all fun! Only after time, do they develop certain thoughts, beliefs and opinions regarding the nature of snow. Its dangerous to drive in, its only good for winter sports, it signifies the end of the seasons of growth and abundance, and once those opinions and beliefs are in place it’s very difficult to break free from their constraints. As creatives we first approach our art with the same unbridled enthusiasm and innocents as a child who knows no boundaries or limits on possibility. We meet our work with open minds and hearts, pouring all of our creative juice into what we do as if from an endless Decanter of wine. Neither tools nor technique dictate our approach, we employ whatever means available to get our ideas out; our vision portrayed our masterpiece composed. Whether we employ a Roland or a Steinway makes no difference as long as the music is made.
At some point however we begin to become very selective over how much and under witch circumstances we pour wine from our decanter. We take a very narrow and specific approach to our work and this is largely influenced by rules we are taught, standards we choose to adhere to and the image/Branding we wish to portray. It becomes our identity and at some point it begins to corral us and places constraints upon our creative freedoms becoming a block on what’s possible because it acts as a set of blinders disabling us from the flow of imagination and experimentation outside of our adopted boundaries.
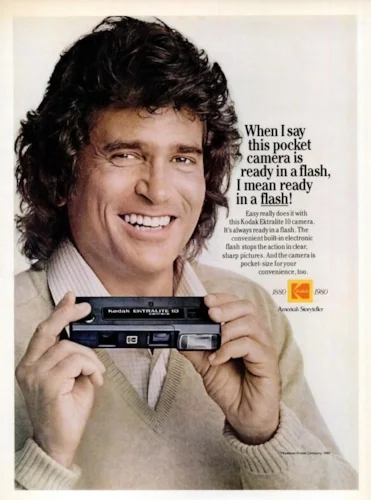
Like so many creatives my journey began as a child when I became fascinated with cartoon characters, goblins, dragons and the like and with the direction of my father picked up a pencil and began to sketch. My interests and skills grew as did I, and art became an outlet, passion and pastime throughout Grade School and into High School. Through the tutelage of various art teachers and my father, my skills and knowledge of the rules and principals of art grew, my work improved and with the completion of each piece I aimed to better its predecessor. Enter High School Introduction to Black and White Photography, this was really the first time I picked up a camera with serious intention to treat the medium as a creative outlet. I was given a Pentax ME Super 35mm camera and a set of 4 lenses that originally belonged to my grandfather and for me at that time it was like hitting the lottery! Previous to that I had owned a Kodak Ektralite 110 camera, so you can imagine my enthusiasm when I was given the Pentax, it might as well had been a Hasselblad for that matter. Sorry Michael Landen, no offense!
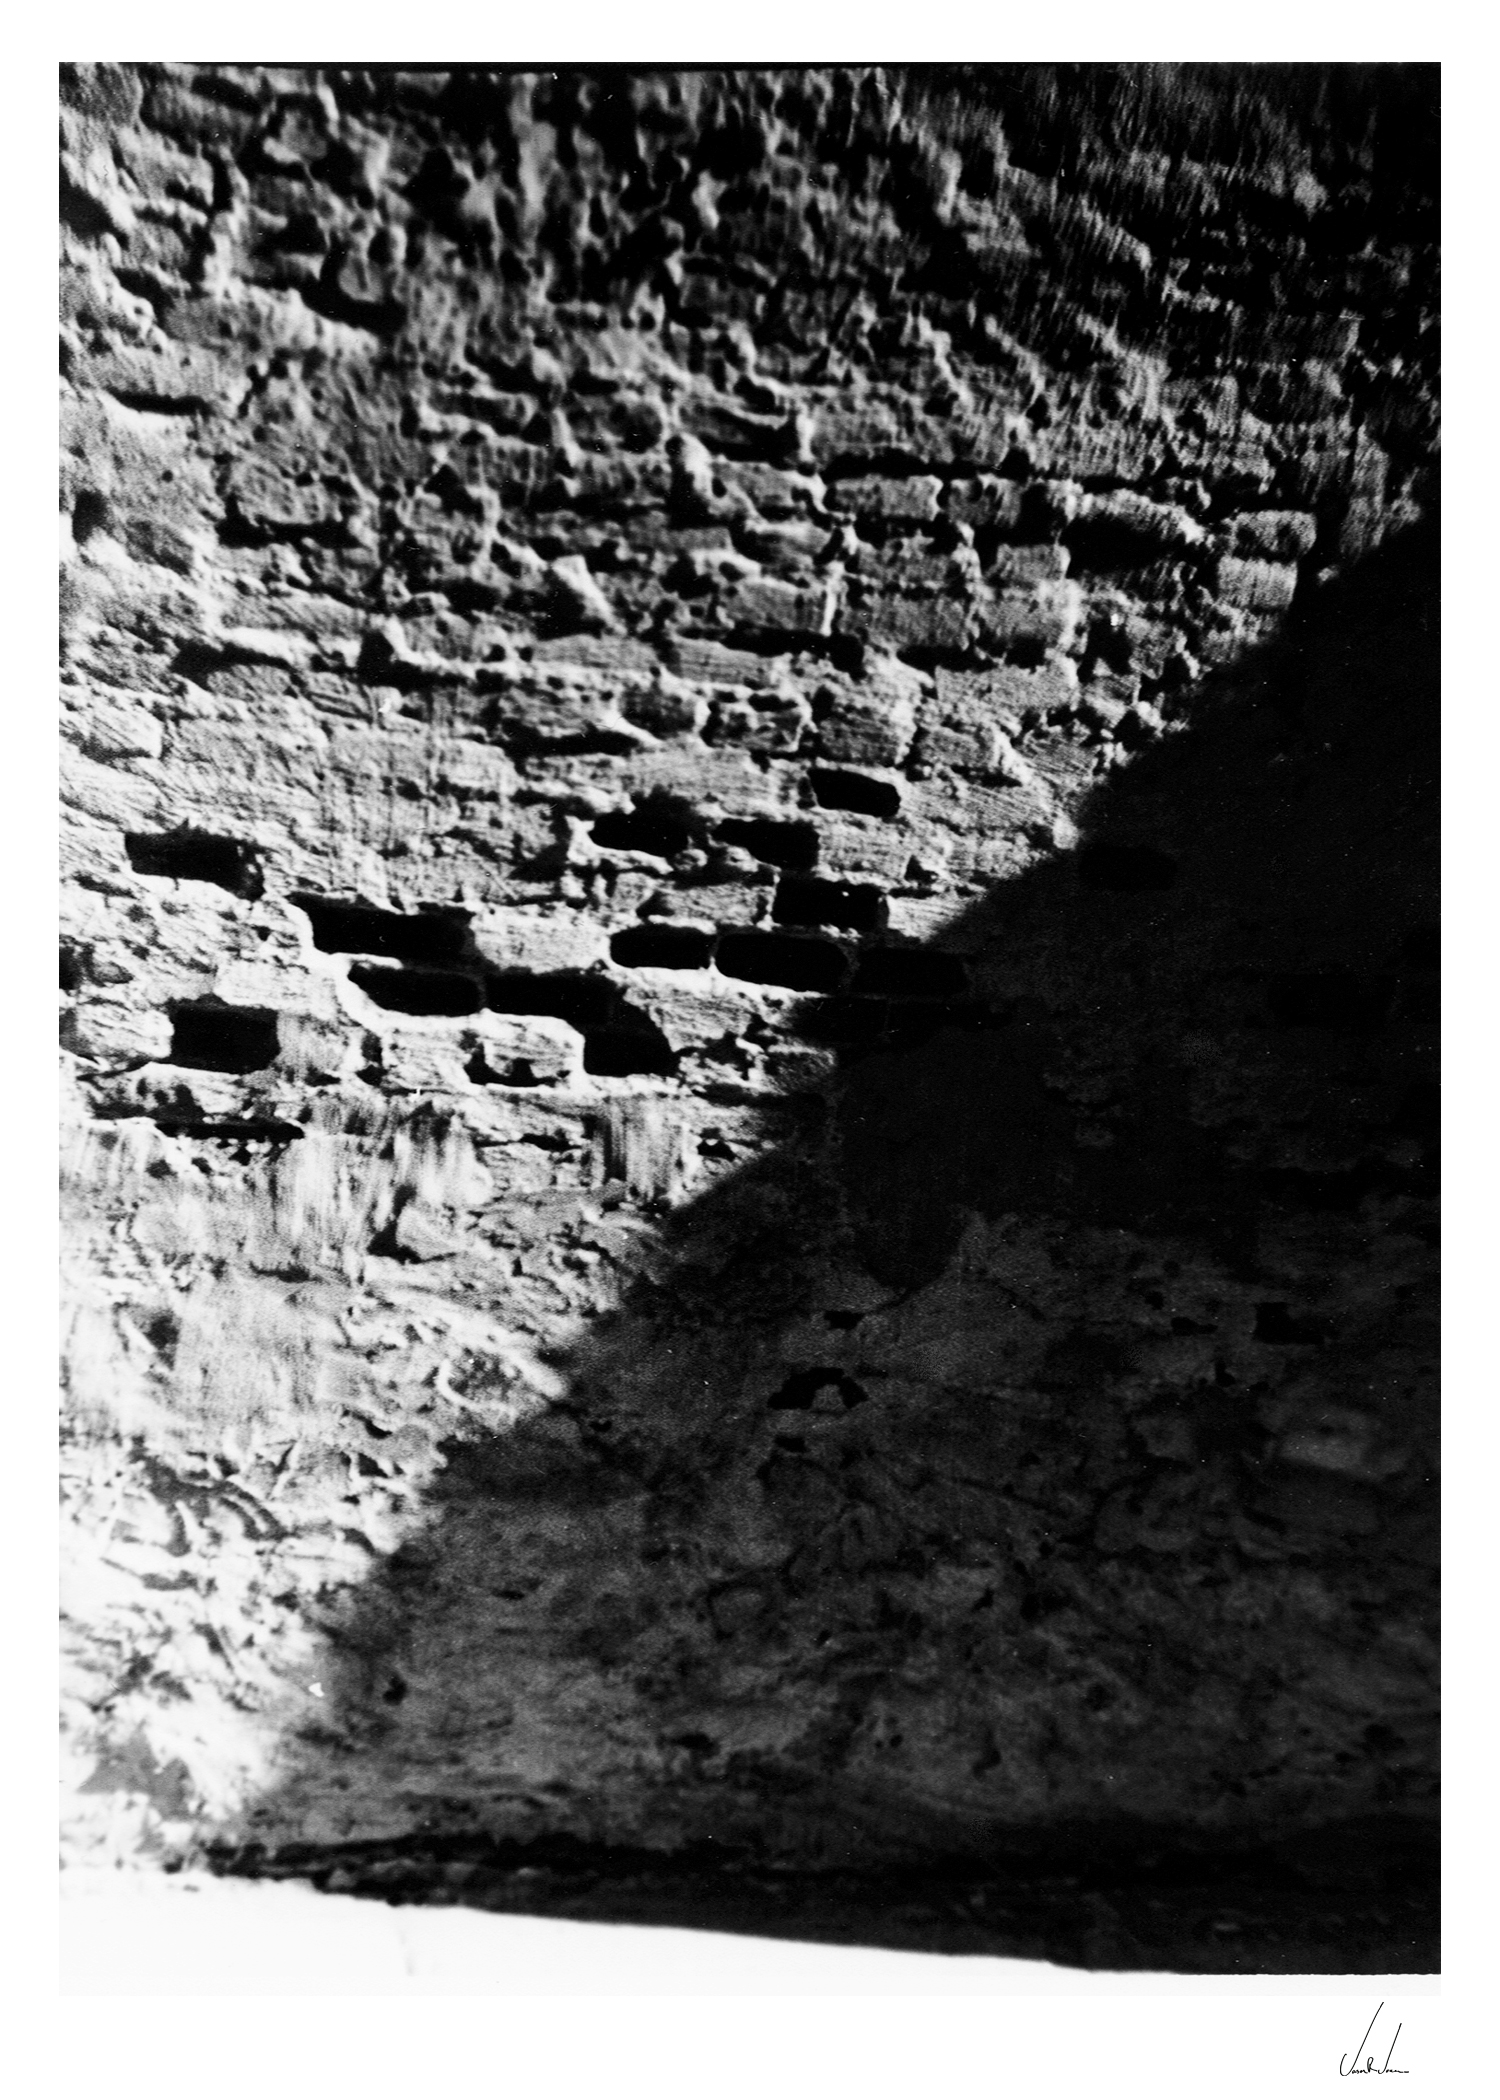
It was with that camera and Kodak black and white films that I really set foot in the arena of photography and the more I shot with it the more experimental my images became. Of course there were certain assignments that we were required to work with such as shape and form, shadows and silhouettes, double exposures, sepia toning and the like, it was all great fun and I really got a lot of exposure to the world of photography. Of course in those days it was all film and light sensitive photo papers, we shot developed and printed our own work. I worked with chemicals to develop, stop and fix the film, dunked it into a water bath and hung it to dry. I made prints on 5x7 Kodak glossy and mat papers using my developed negatives and an enlarger. And finally I viewed the results of my efforts in the final print, which sometimes left a lot to be desired. It may seem like a lot of work compared to today’s digital process but like that child playing in freshly fallen snow it was magical, it was fun!
I continued to shoot with my Pentax for the next 10 years with varying frequency, as my chosen carrier path took me in a slightly different direction, but it was always there when I needed to feel that freedom and fun again, a creative release from the more technical job I had fallen into. In 2003 I began to really get the photo bug again and decided to look into one of those new fangled digital cameras everyone seemed to be using. By then digital had come a long way and had become quite mainstream. The idea of instant gratification coupled with the ability to work in the digital environment, i.e. Adobe Photoshop was very enticing to me so I splurged and purchased a Pentax K20 with a kit lens. It was exhilarating to have the ability to get instant feedback on my exposures and with a virtually endless limit on the images I could take, provided I had enough memory cards, I could shoot to my hearts content and not spend a single minute thinking about the cost of film or the associated processing and print expense.
I shot concerts experimenting with various shutter speeds for effect, I shot cityscapes, I took it along on walks in the woods and captured wildlife images, ( I make it a point to never say “Shot Wildlife” ), and I had a blast all the while just making images. 2003 quickly gave way to 2010; my how time does fly and I found myself a 34-year-old man who had just become a father. This was to prove a turning point in my life not only as a new father but in my passion for photography as now more than every I wanted to do nothing more than make images. It first started with my daughter, she was amazing, small and still, sleeping quite a bit in those early days. When she was awake her big bright blue eyes captivated me and I was inspired to pick up my Pentax and make photographs of her. It had been 17 years since I had any training or education in the art or tech of photography and I was egger to build upon my basic knowledge and skill level. The first set of books I picked up were Scott Kelby’s The Digital Photography Books 1 and 2. By the time I passed those books on they were well creased and quite used, they had become, for me the Bible of digital photography. I discover Joe McNally, Moose Peterson, Joel Grimes, I purchased book after book and watched hundreds of hours of training videos. I listened to podcasts and searched forums I was a photo junkie. I practiced on my daughter and I got better, took the camera on family trips and shot boats in the harbor, lighthouses, and wildlife and got better. I soon grew hungry for better, more professional gear and by the end of 2011 had purchased a full frame Nikon D700 and three lenses. I also knew the importance of a steady camera so I purchased a Gitzo tripod and a cable release; I was really going places now as I had high-end gear and the knowledge of how to use it! I was interested in portraiture work but had also begun to grow more interested in the landscape so I split my time working with both. I ran a small portrait studio out of my home and I ventured out into the landscape on trips with my father and my family.

Portrait Client, 2011

Coral Pink Sand Dunes State Park, Utah - 2012

Me at White Pocket in Arizona circa 2012
Another interesting thing began to develop in the fall of 2011. I started attending art festivals and really paying attention to the work of the various landscape photographers on hand. It was at one particular festival that I met C.W. Banfield and saw his large format landscape photographs. There was so much detail and he was able to print at enormous sizes, it captured me. From that moment on I became obsessed with large format and film and began to seek out the masters of the medium. I discovered Clyde Butcher, David Muench, Fatali and the like. Then one day I walked into a local bookstore and happened to notice a photography book on display that was comprised entirely of landscape images from my home state of Michigan. I picked the book up and began to read about the photographers that co produced it, Ron Leonetti and Christopher Jordan. I found that the images in the book were captured exclusively on both large and medium format film and for me that sealed the deal. I bought the book, went home and purchased my first film camera since my old Pentax ME Super, an Ebony SVTE 4x5 field camera, ( now a remnant of days gone by ) . I had now entered the elite world of the large format film photographer and I was quite proud of myself, never mind I had yet to make my first exposure.
This is the point in the article where I begin to tie in the backstory to the theme and my sole point of this writing. There were a few distinct factors, which lead me down the path toward working in large format film and they were. Firstly I had begun to grow dissatisfied with both the quality and the sheer multitude of images I was producing while working in digital. What originally drew me to digital, the seemingly bottomless amount of images I could produce in a single outing was now a big turn off. I would return from a trip and sift through the hundreds of images I had made and find very few that actually appealed to me. I was producing quantity not quality and I attributed at lease part of this to not having much in the way of restraints on pressing the shutter button. Secondly I found that everywhere I went there were hordes of other photographers with their Nikon D700’s or their Canon 5D Mark II’s and all the images began to look the same to me. Exposure blending, HDR, focus stacking, Nik effects and Lightroom presets, were commonplace and I didn’t want to be just another frequency in the digital noise that was being produced. Photography had become an extremely commercially marketed product and the masses we in on it. Everyone was “A Photographer” from your next-door neighbor’s niece in high school, to your doctor to the mailman and it was only getting more saturated by the day. I wanted to produce fine art. I wanted to separate myself from the crowd. I wanted my work to get better and I wanted to find a niche, style and brand that would be distinguishable from the constant buzz of the extremely fast growing consumer driven industry that had seemed to materialize over night. My goal was to now work exclusively in film and I moved into this practice completely by the end of 2013, abandoning my D700 for my Ebony 4x5. I stopped producing portraits and sold off most of my digital gear and went full speed ahead into film and landscape work with the sole purpose of slowing down, making quality images and building a brand based on high quality carefully crafted work. The process was slow and I learned quickly it was both more difficult and more costly to work with film but I was insistent on staying the course, I was in it for the long haul not instant gratification. In time my work showed promises and I felt I was on the right road. I was starting to produce the type of images I wanted to make and I truly enjoyed the process in which I was making them. My style began to develop and the accuracy in which I made exposures grew tighter and tighter. I was a large format landscape photographer damn it and proud of it!

2013 became 2015 and by now I had a nice little portfolio displayed on my website and finally enough work to think about approaching a gallery for representation. My geographical location had changed as well as I was able to convince my wife to move 230 miles northwest to an area in Northern Michigan that was steeped in natural beauty, a popular tourist destination and a place where I hoped to be able to sell my work. Something began to stir in the back of my mind however that even though I had achieve much of my goals by moving exclusively to large format film and I had a small collection of quality images, it was still in fact a small collection. I wanted to produce more work but if you have every worked with a view camera before you will know that you don’t amass a large collection of images very rapidly. On any outing your lucky to make 4 exposures and with the price of film increasing and the cost to have it professionally scanned looming over my wallet I felt I had to hold back on my image making. While I welcomed this concept at first it began to limit my play and experimentation and I sought to find a way to produce more images while still retaining my core principals and values to work exclusively with film and maintain a carefully thought out process before pressing the shutter. In November of 2015 I picked up a Mamiya 7ii - 6x7cm rangefinder system and three lenses and moved almost exclusively into this format for the next two years. My switch up proved to be beneficial as with the Mamiya I was still required to carefully compose a well thought out composition while taking great care to correctly expose my Fujifilm Velvia color slide film, the film I chose to work almost exclusively with, however I was a bit more freed up to quickly recompose and shoot again as the light changed and as something else caught my fancy. Not to mention 120 film was easier to find and much more economically forgiving on the pocket book. Not only was I able to produce more images from an outing but my work was beginning to improve yet again as I was free to experiment more with possibilities for composition all due to the compact and more manageable size and function of my camera.

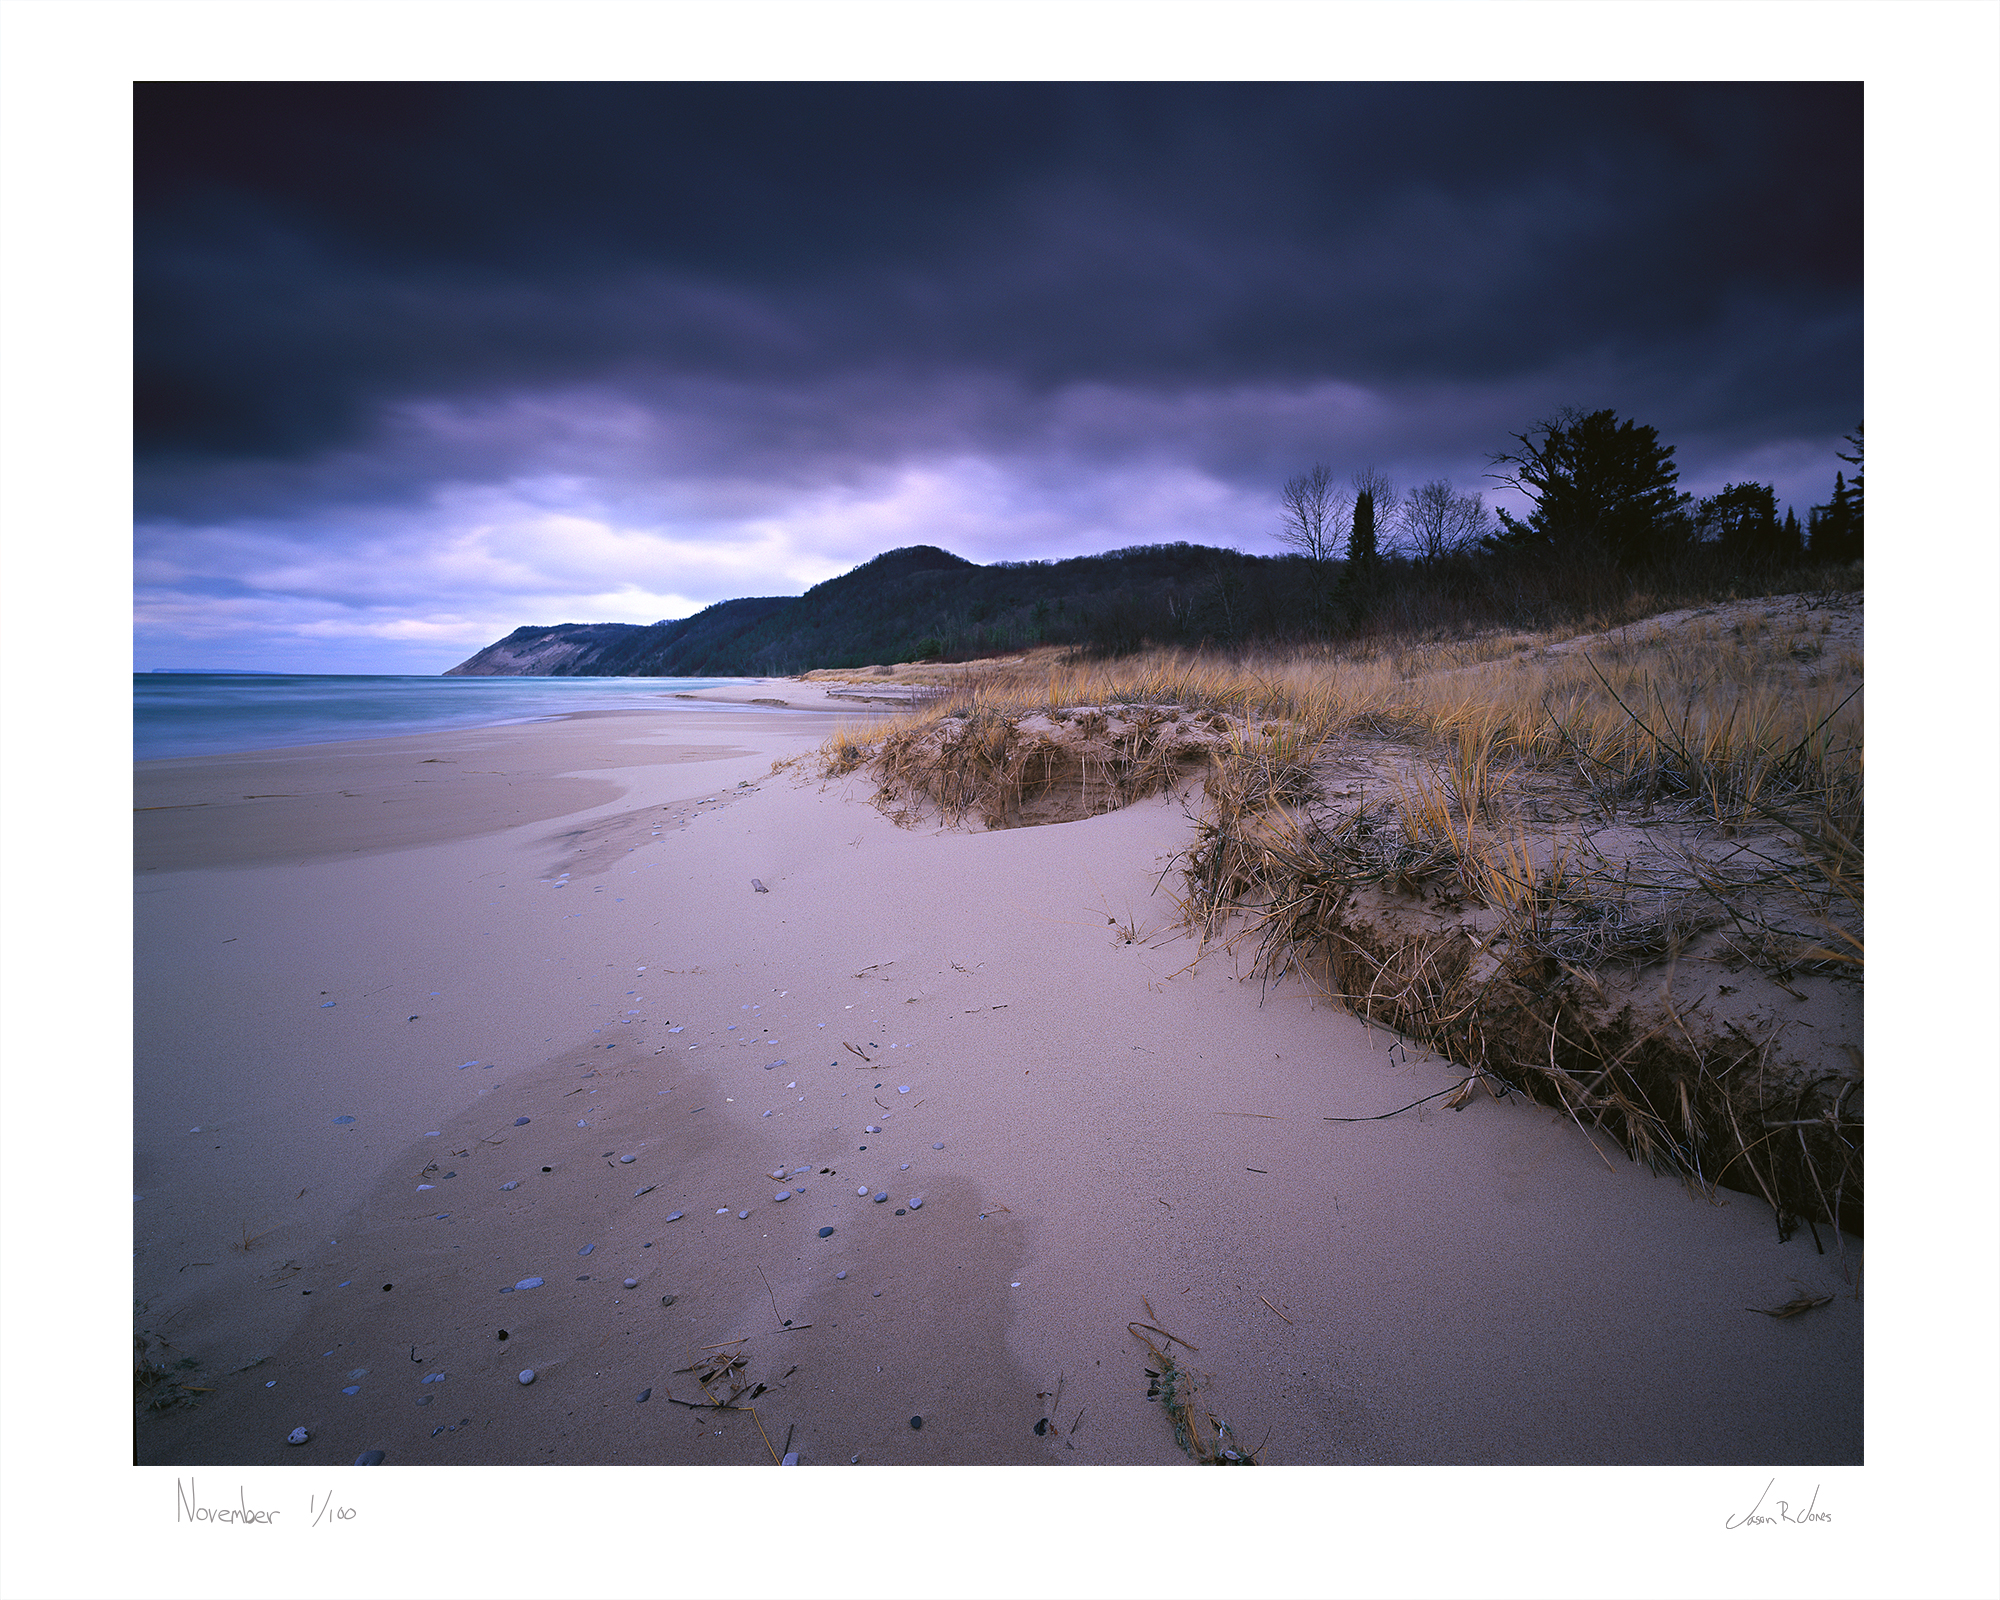
“Life In Slow Motion” - Mamiya 7II, Fuji Velvia 50, Sleeping Bear Dunes National Lakeshore
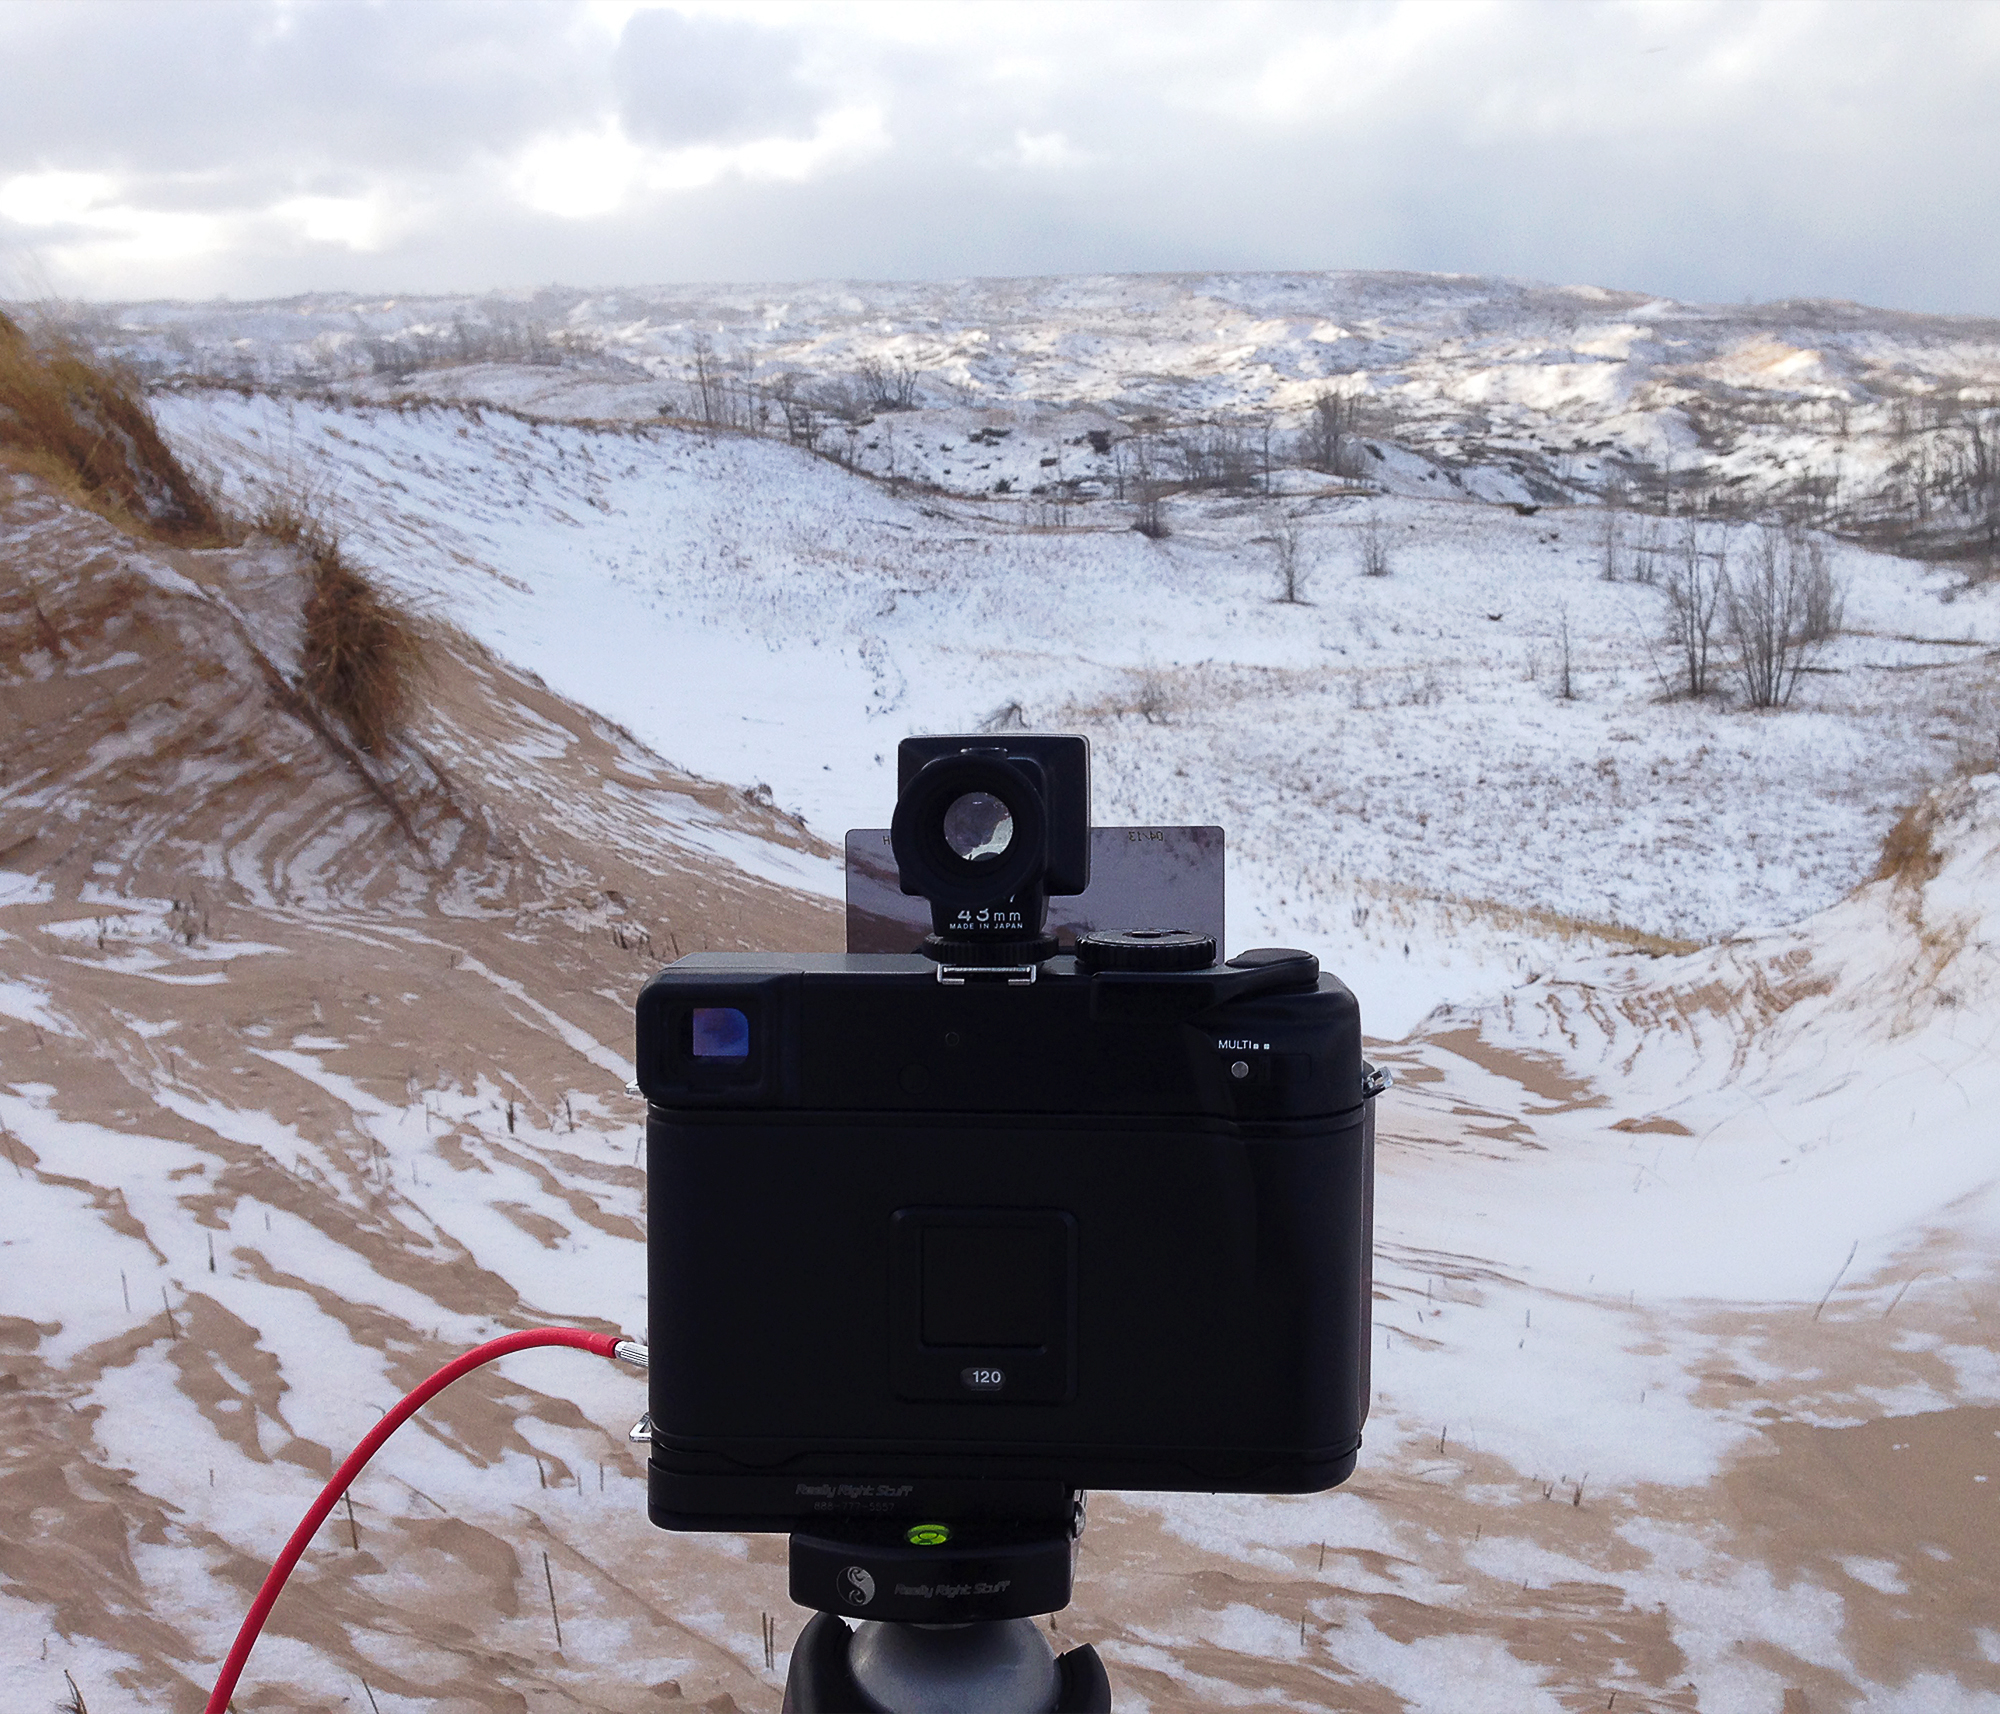
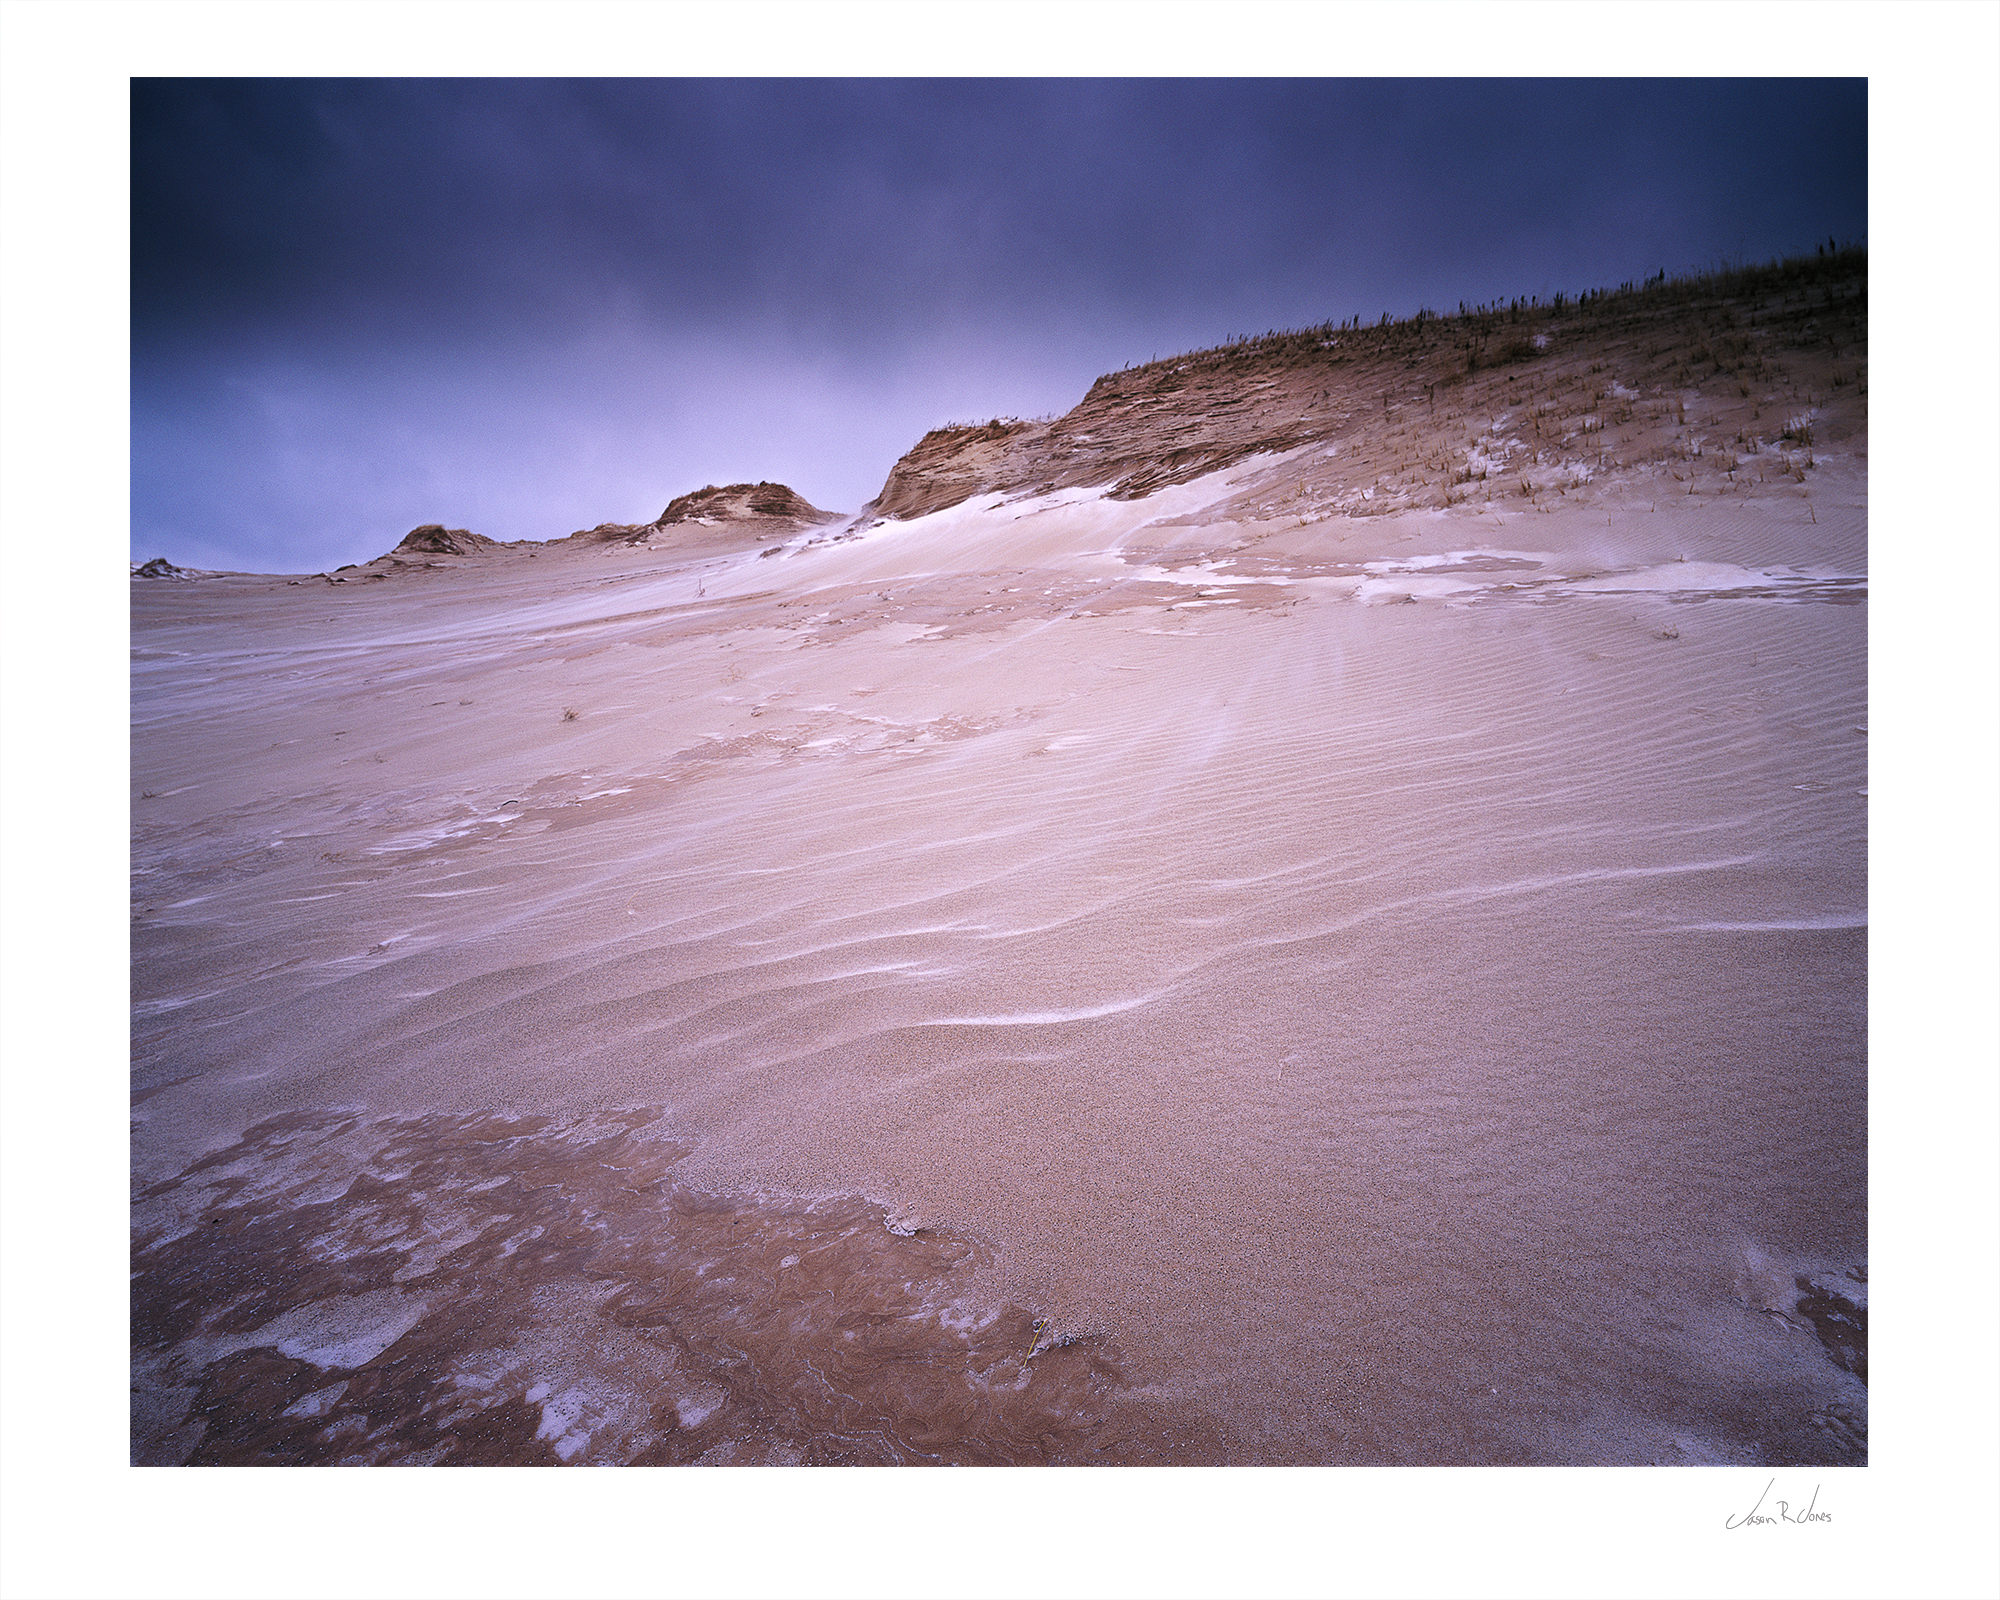
Mamiya 7II, Sleeping Bear Dunes National Lakeshore
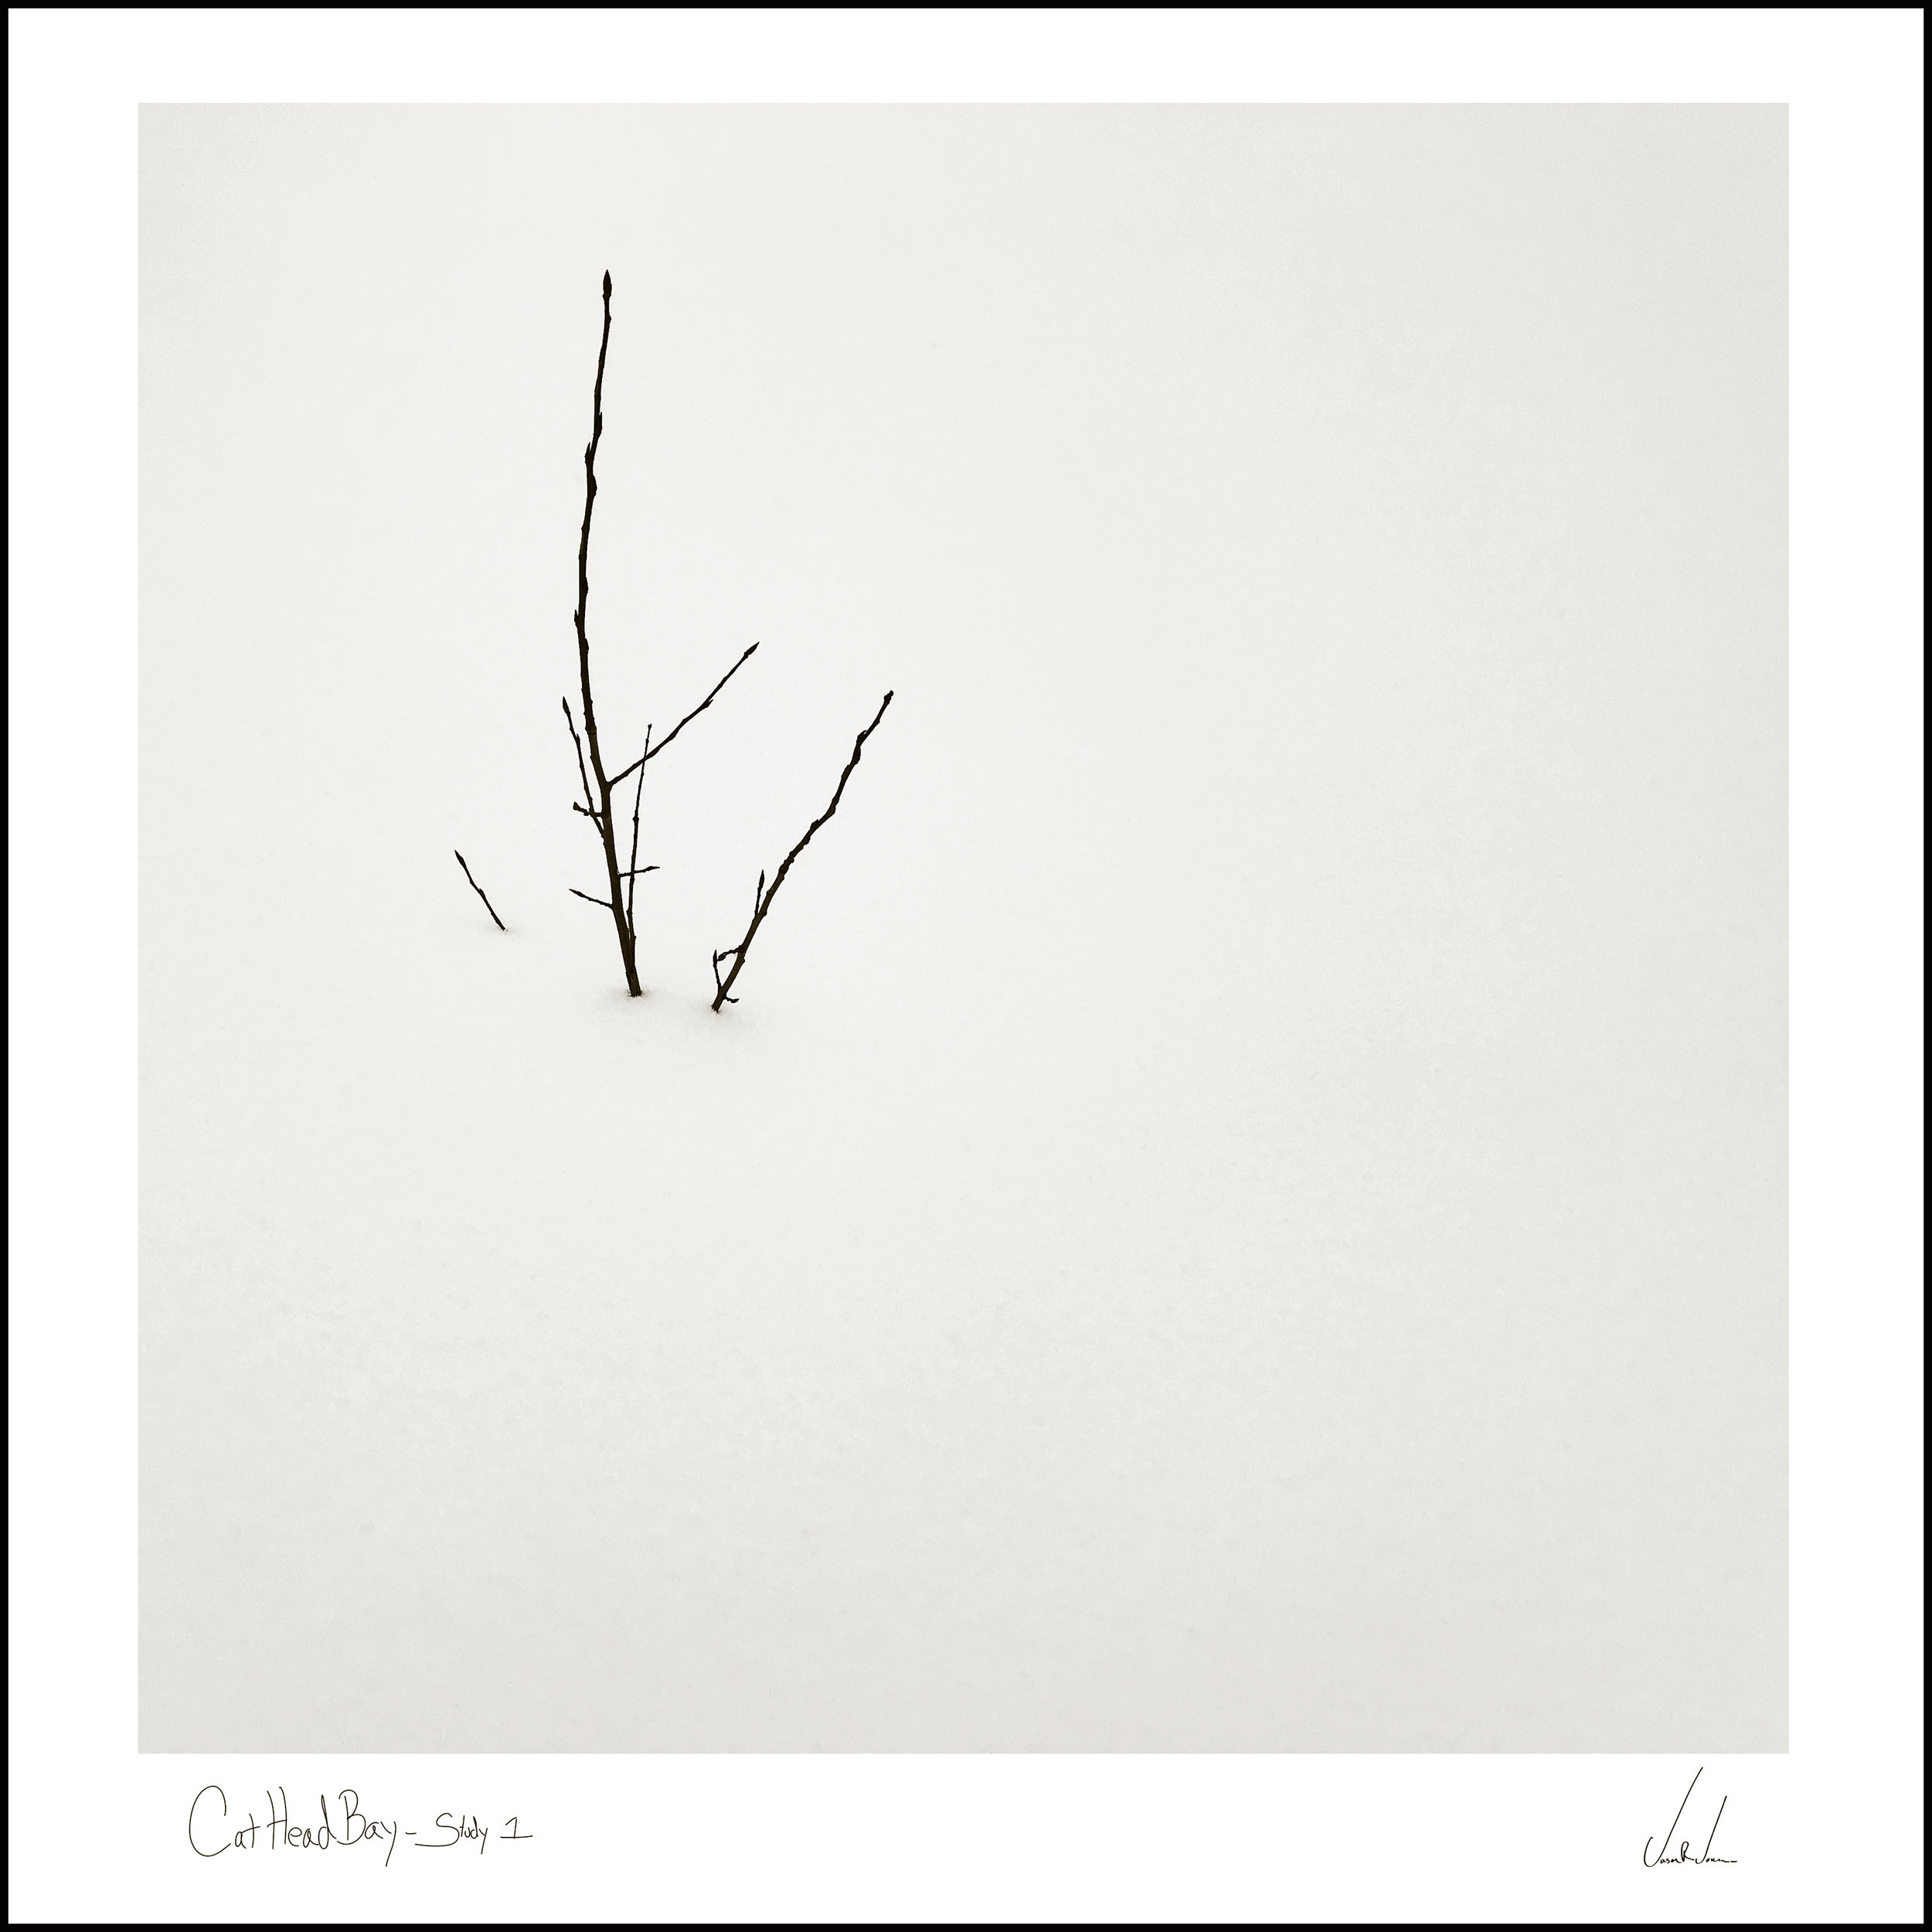
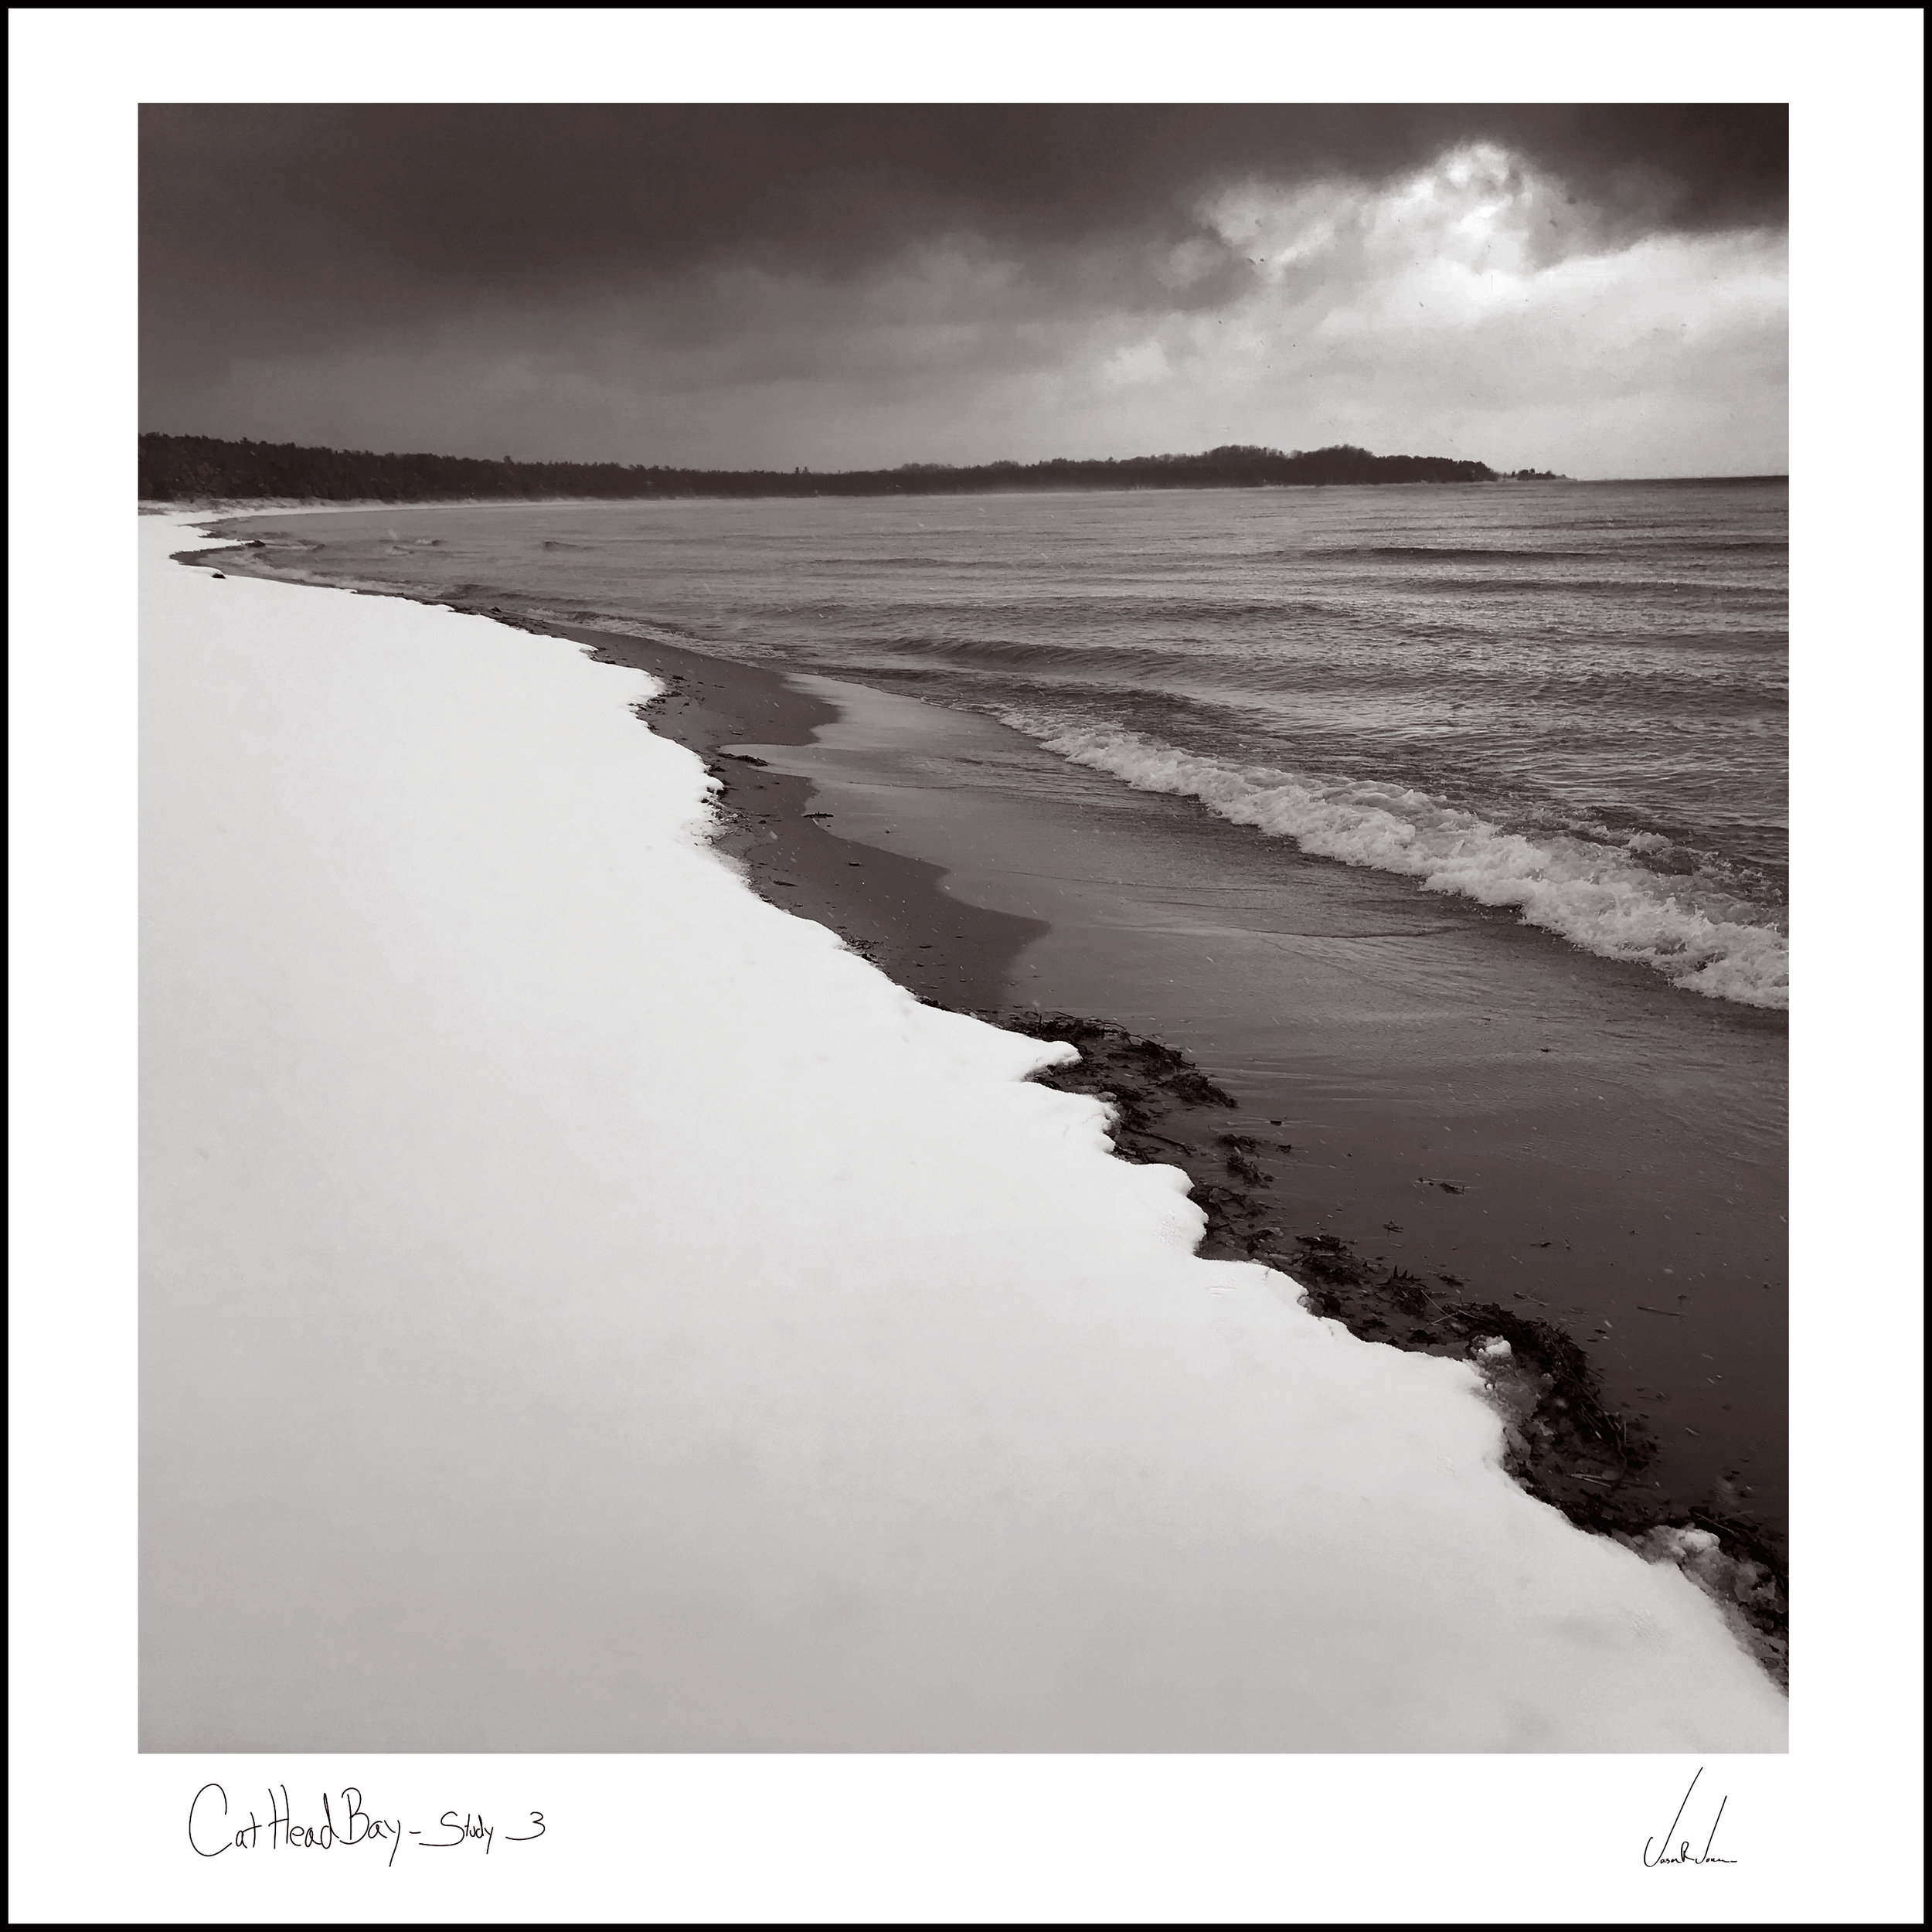
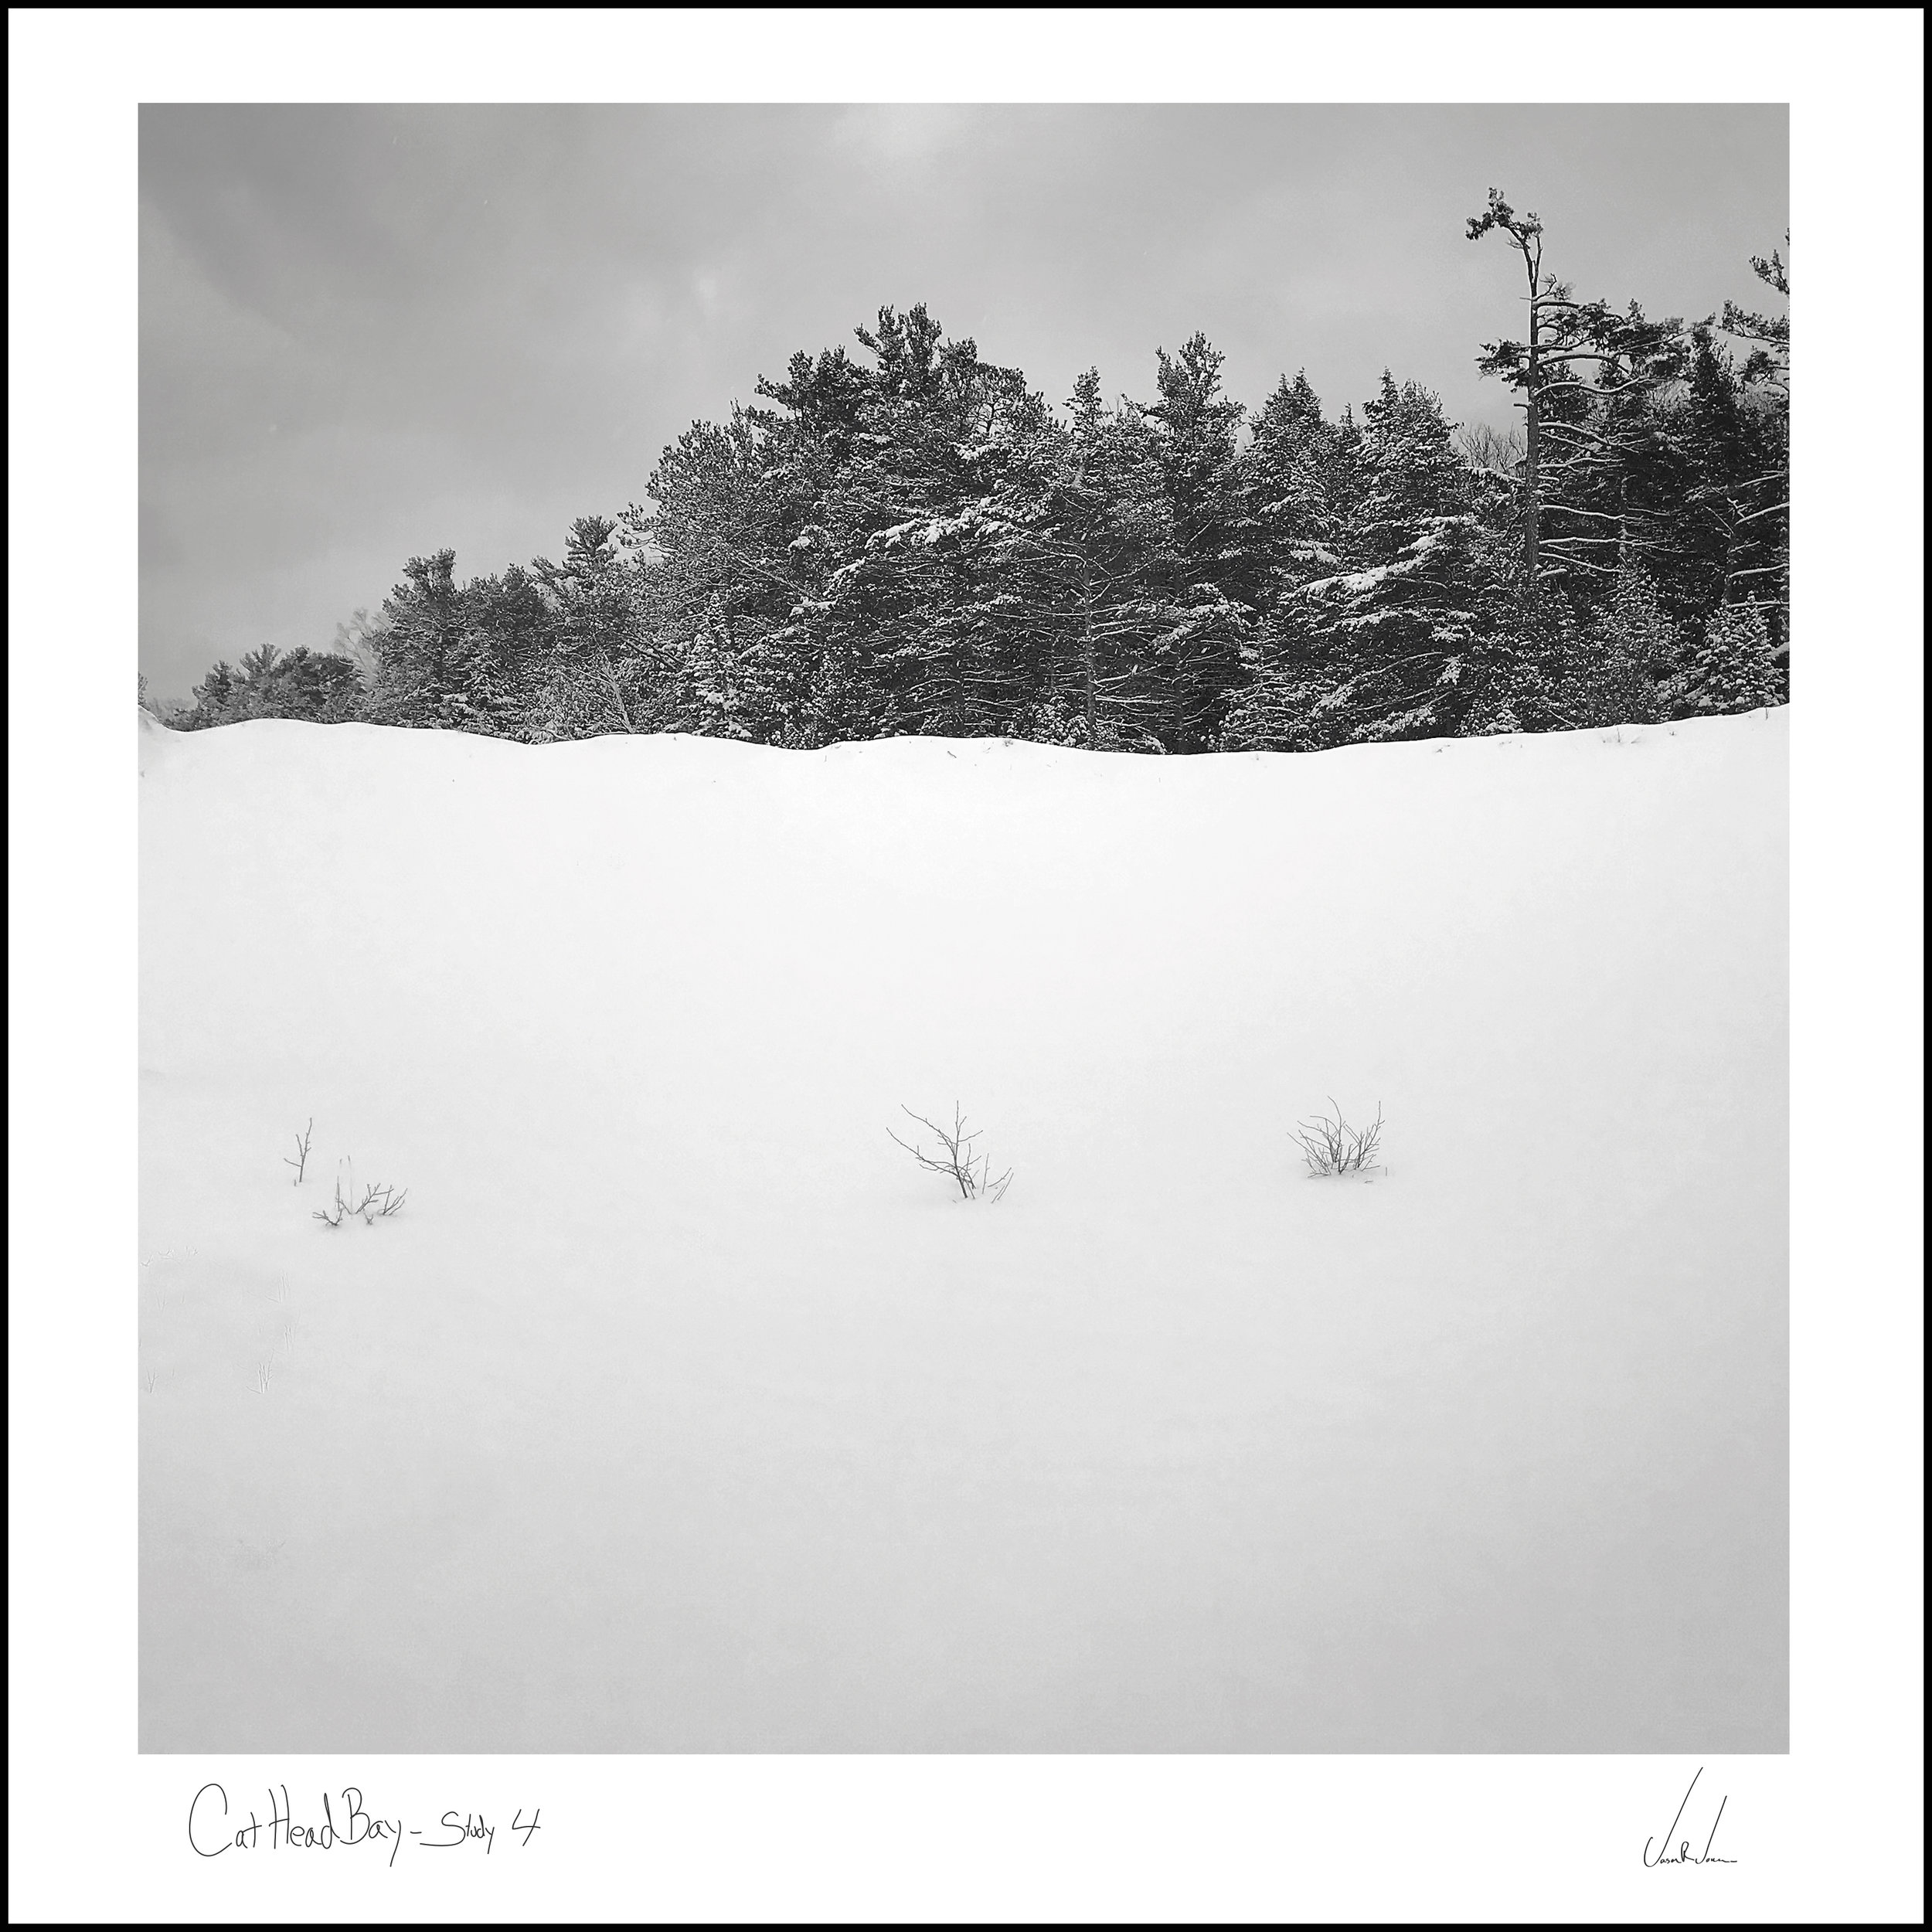
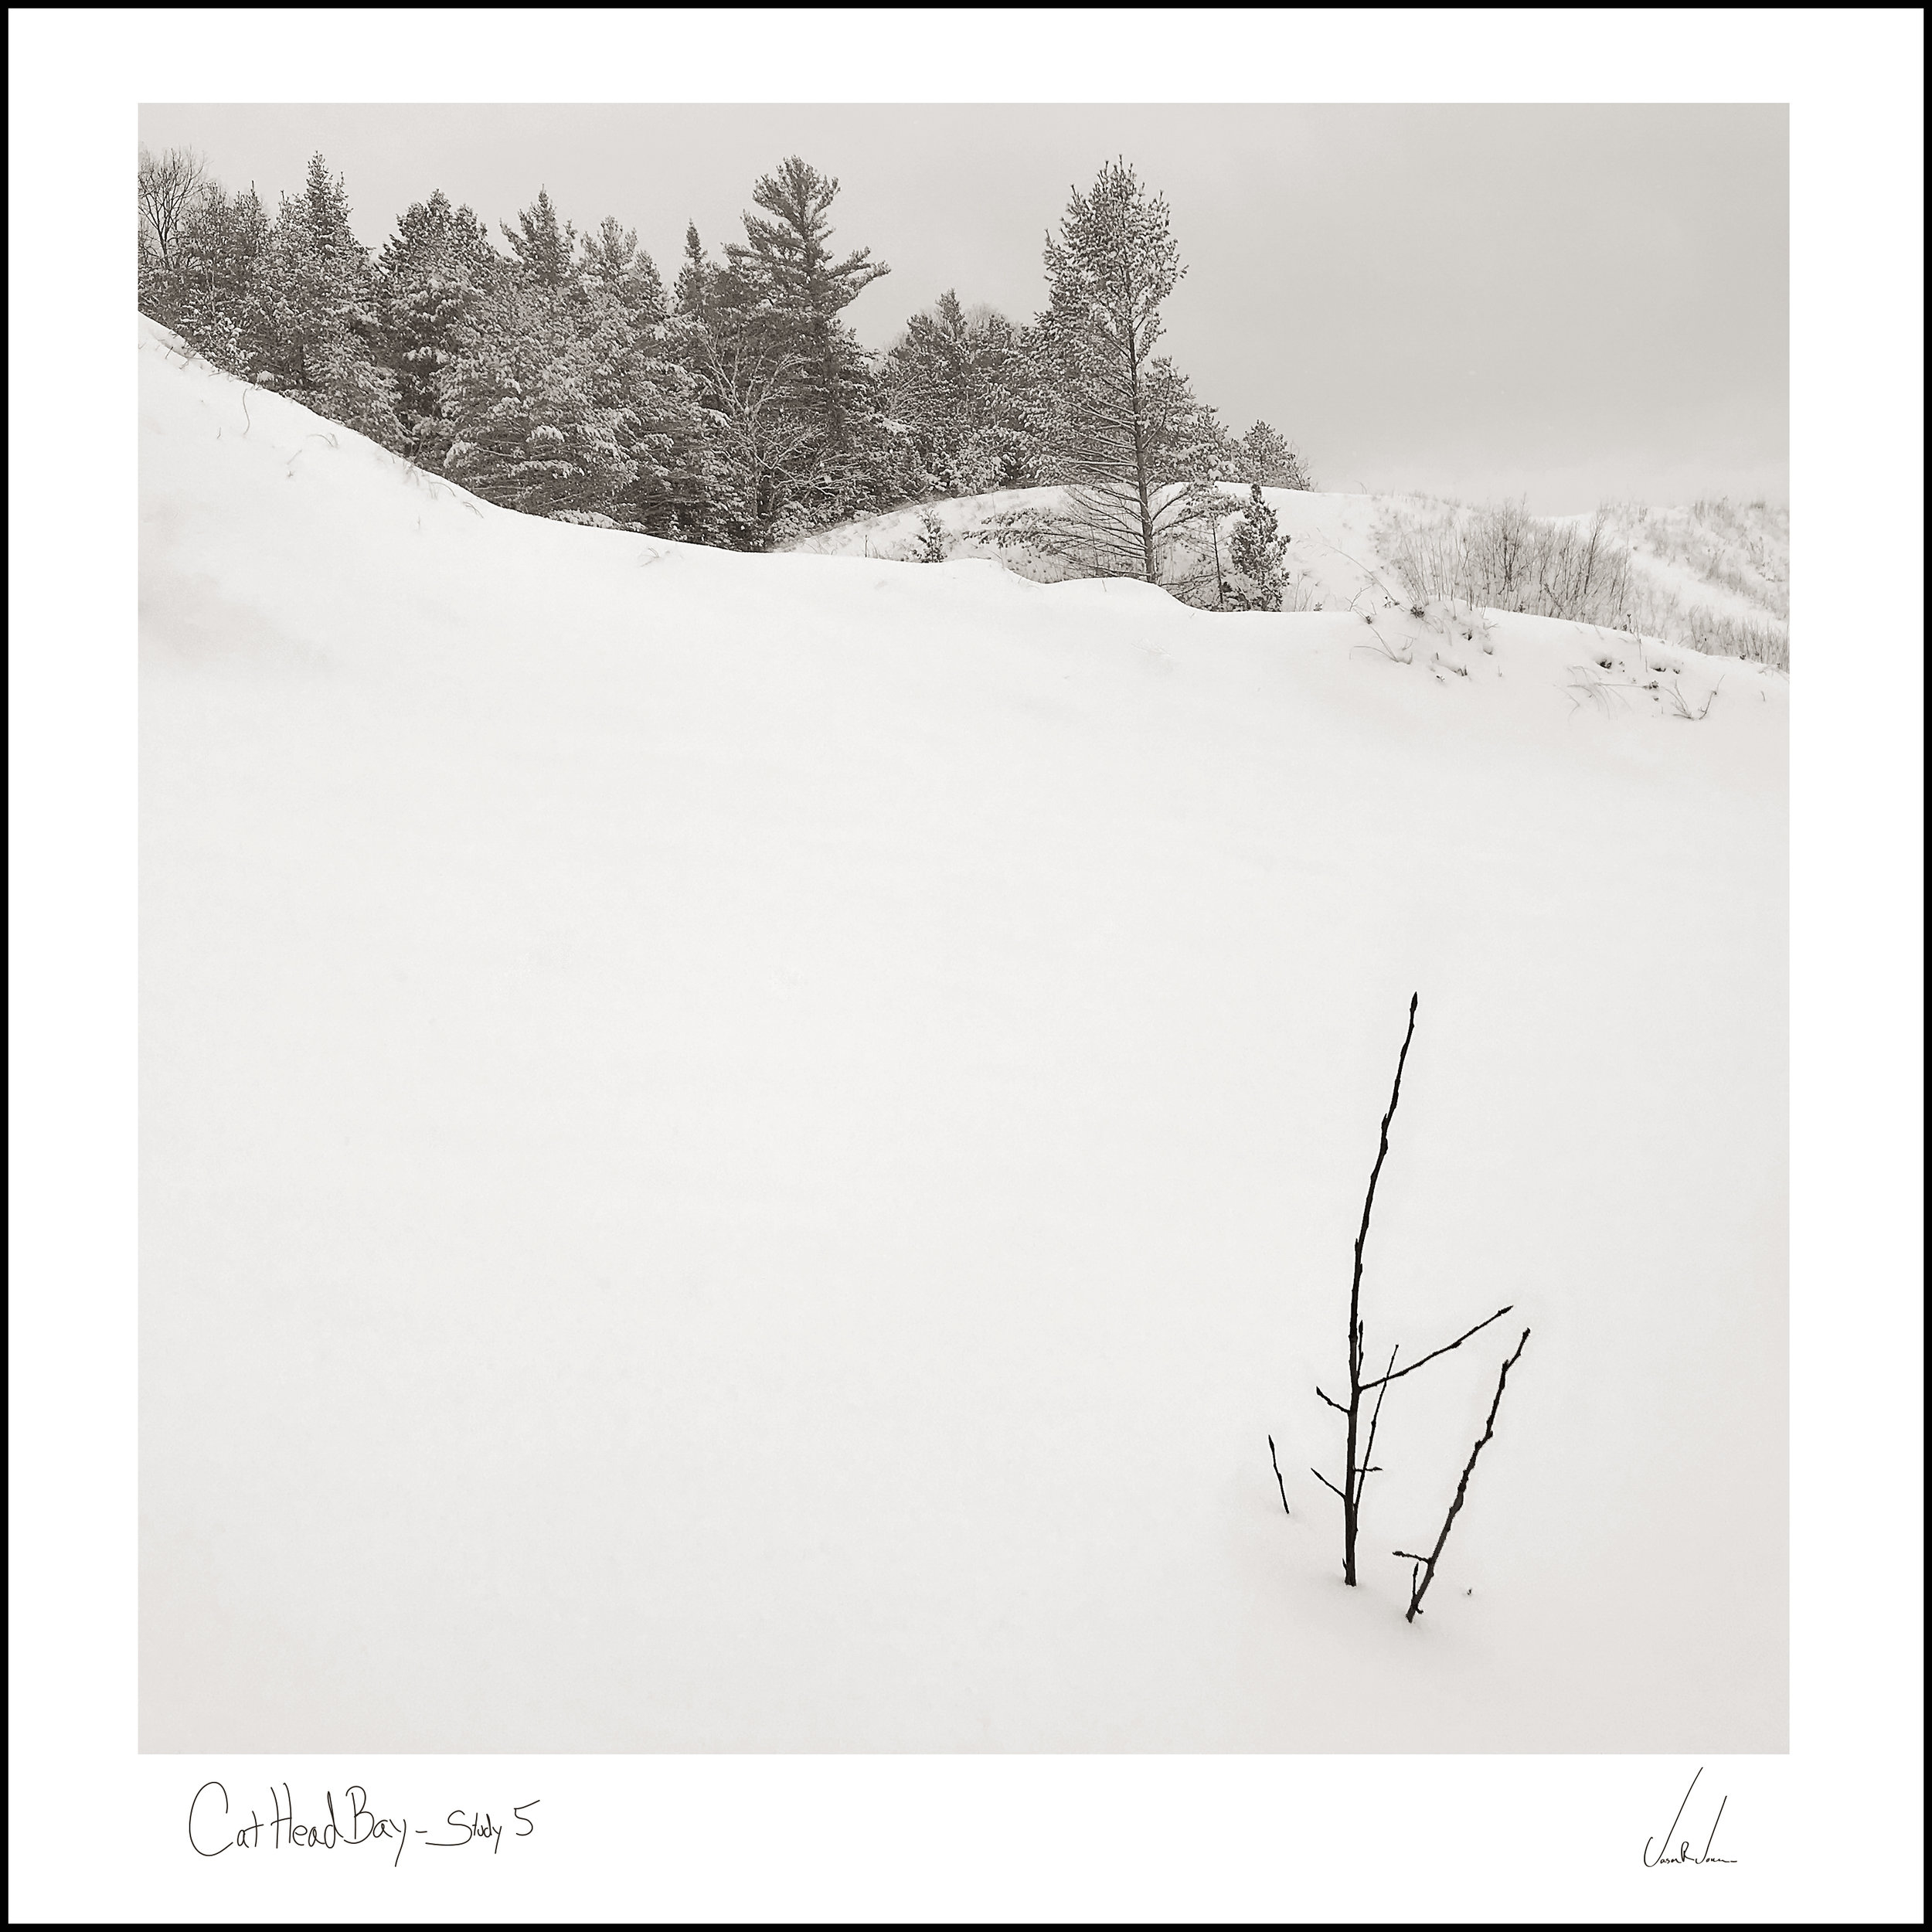
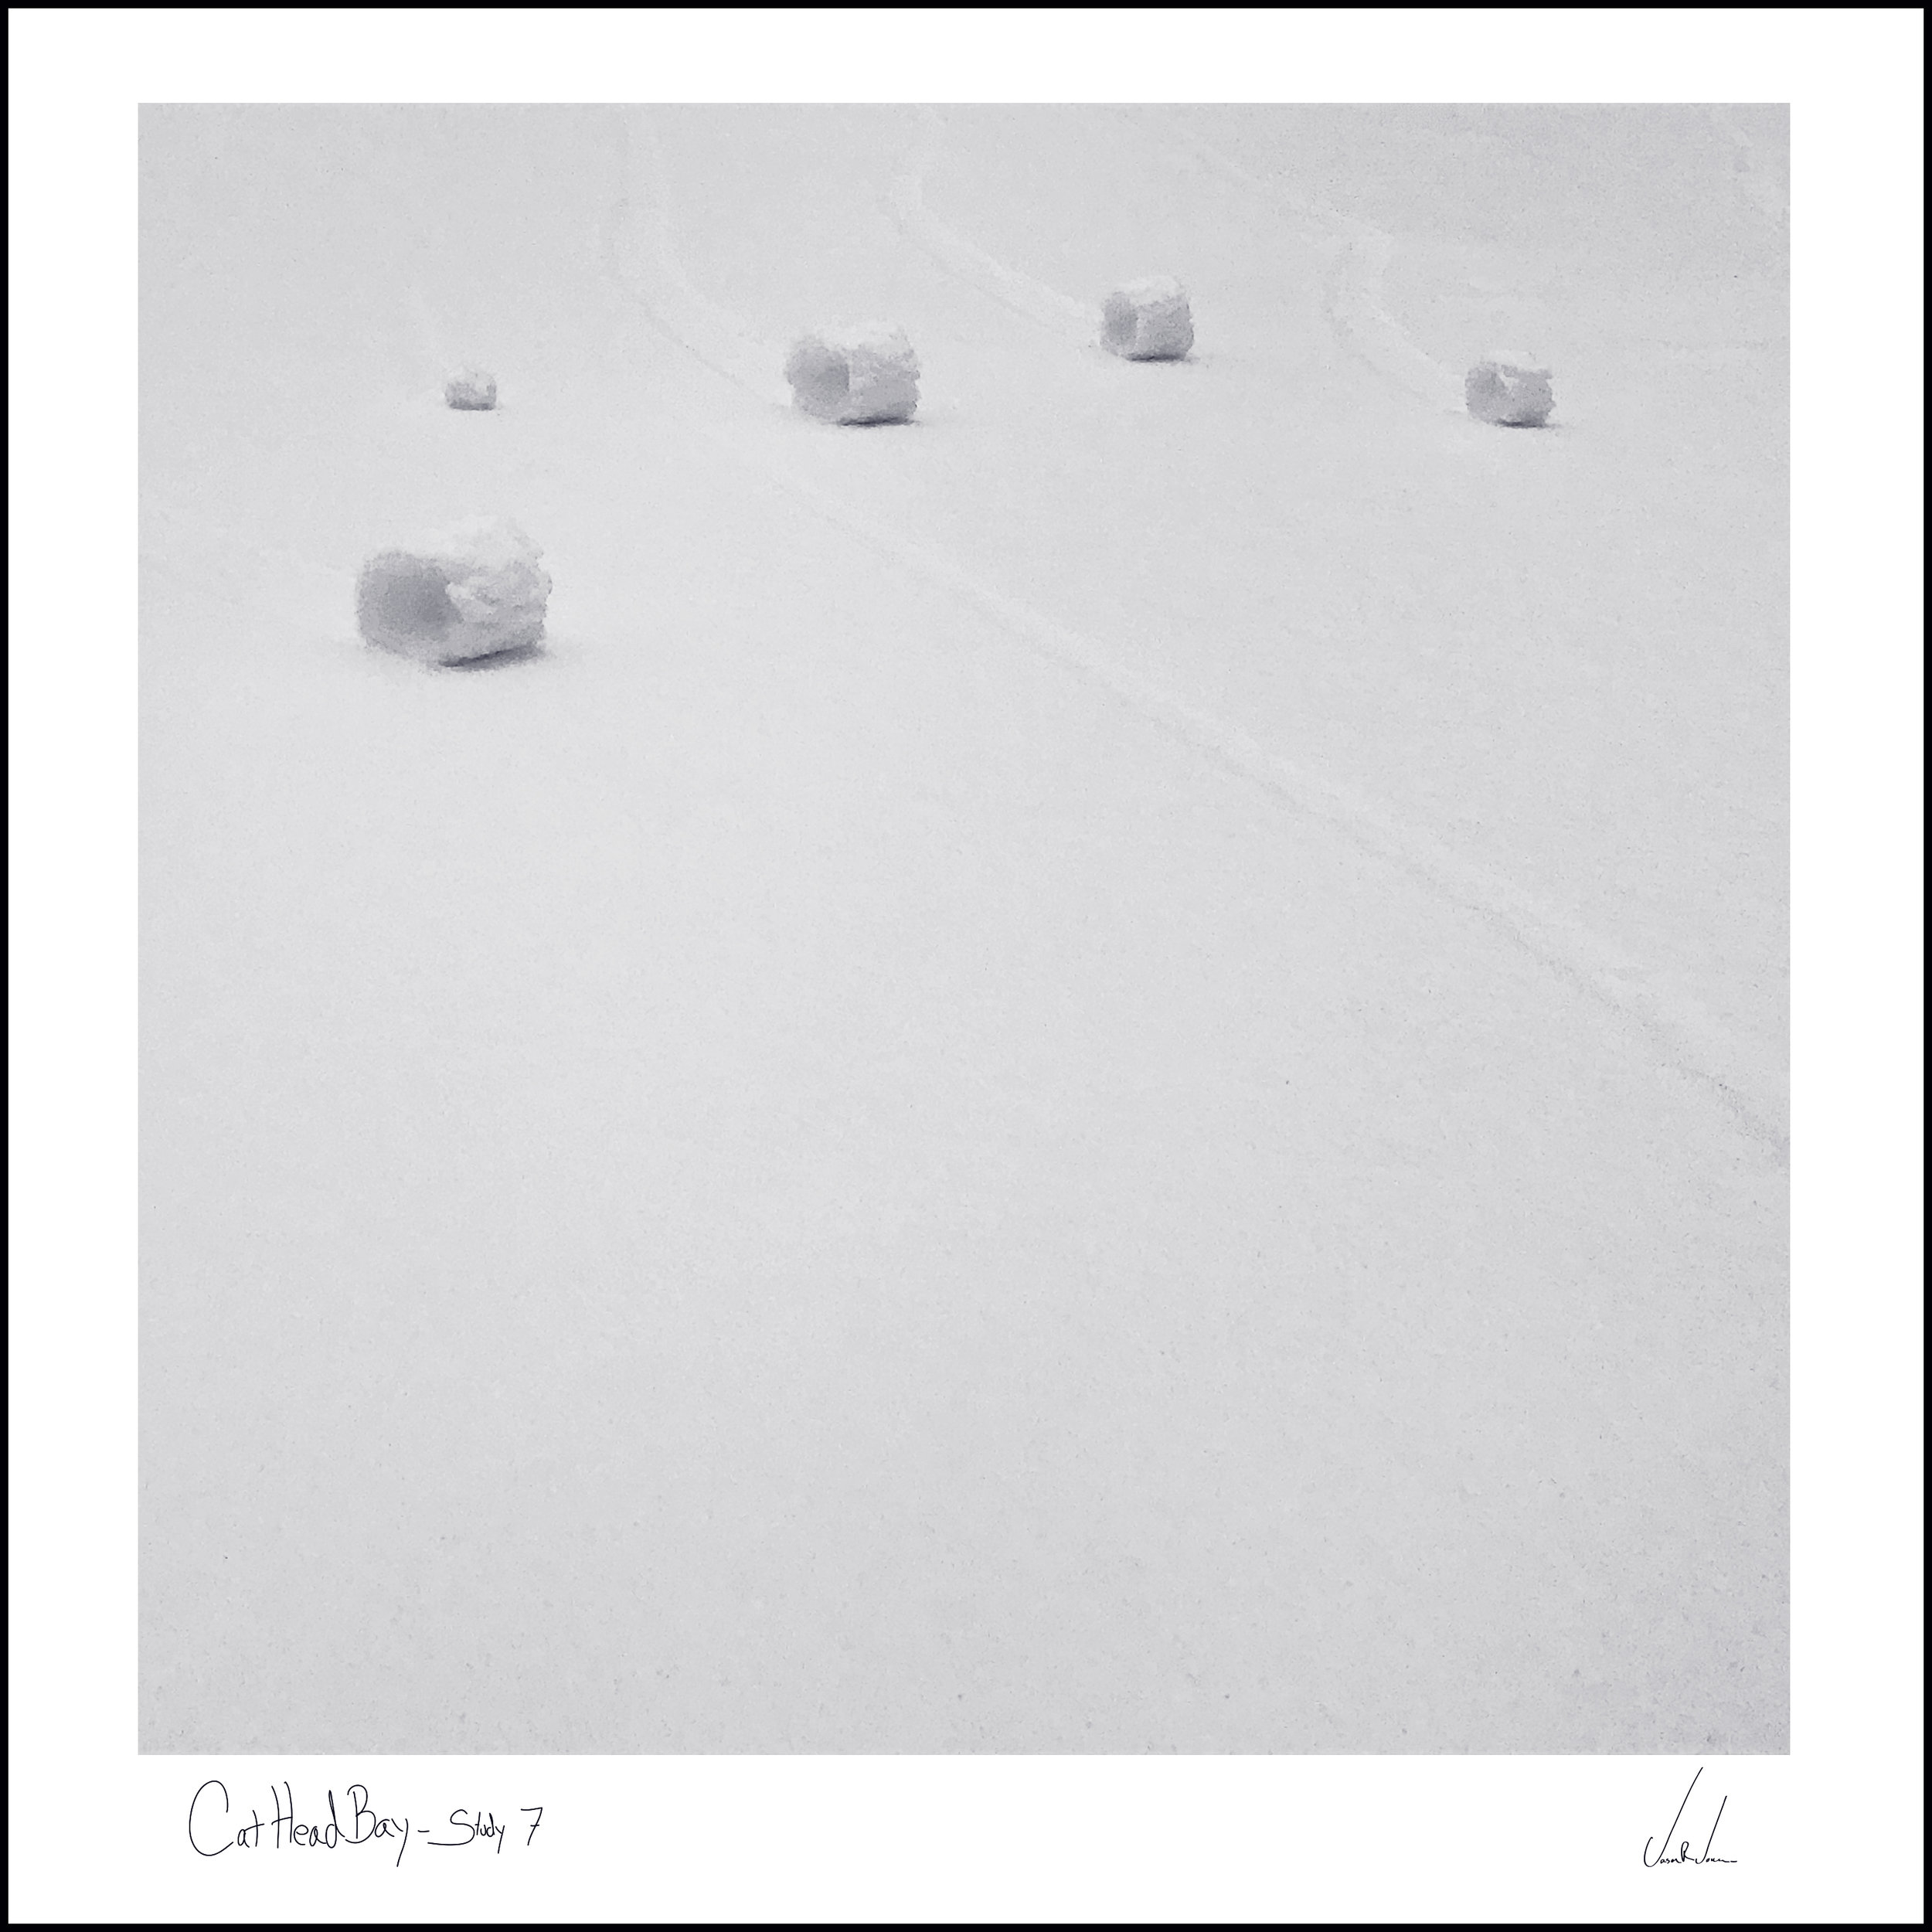
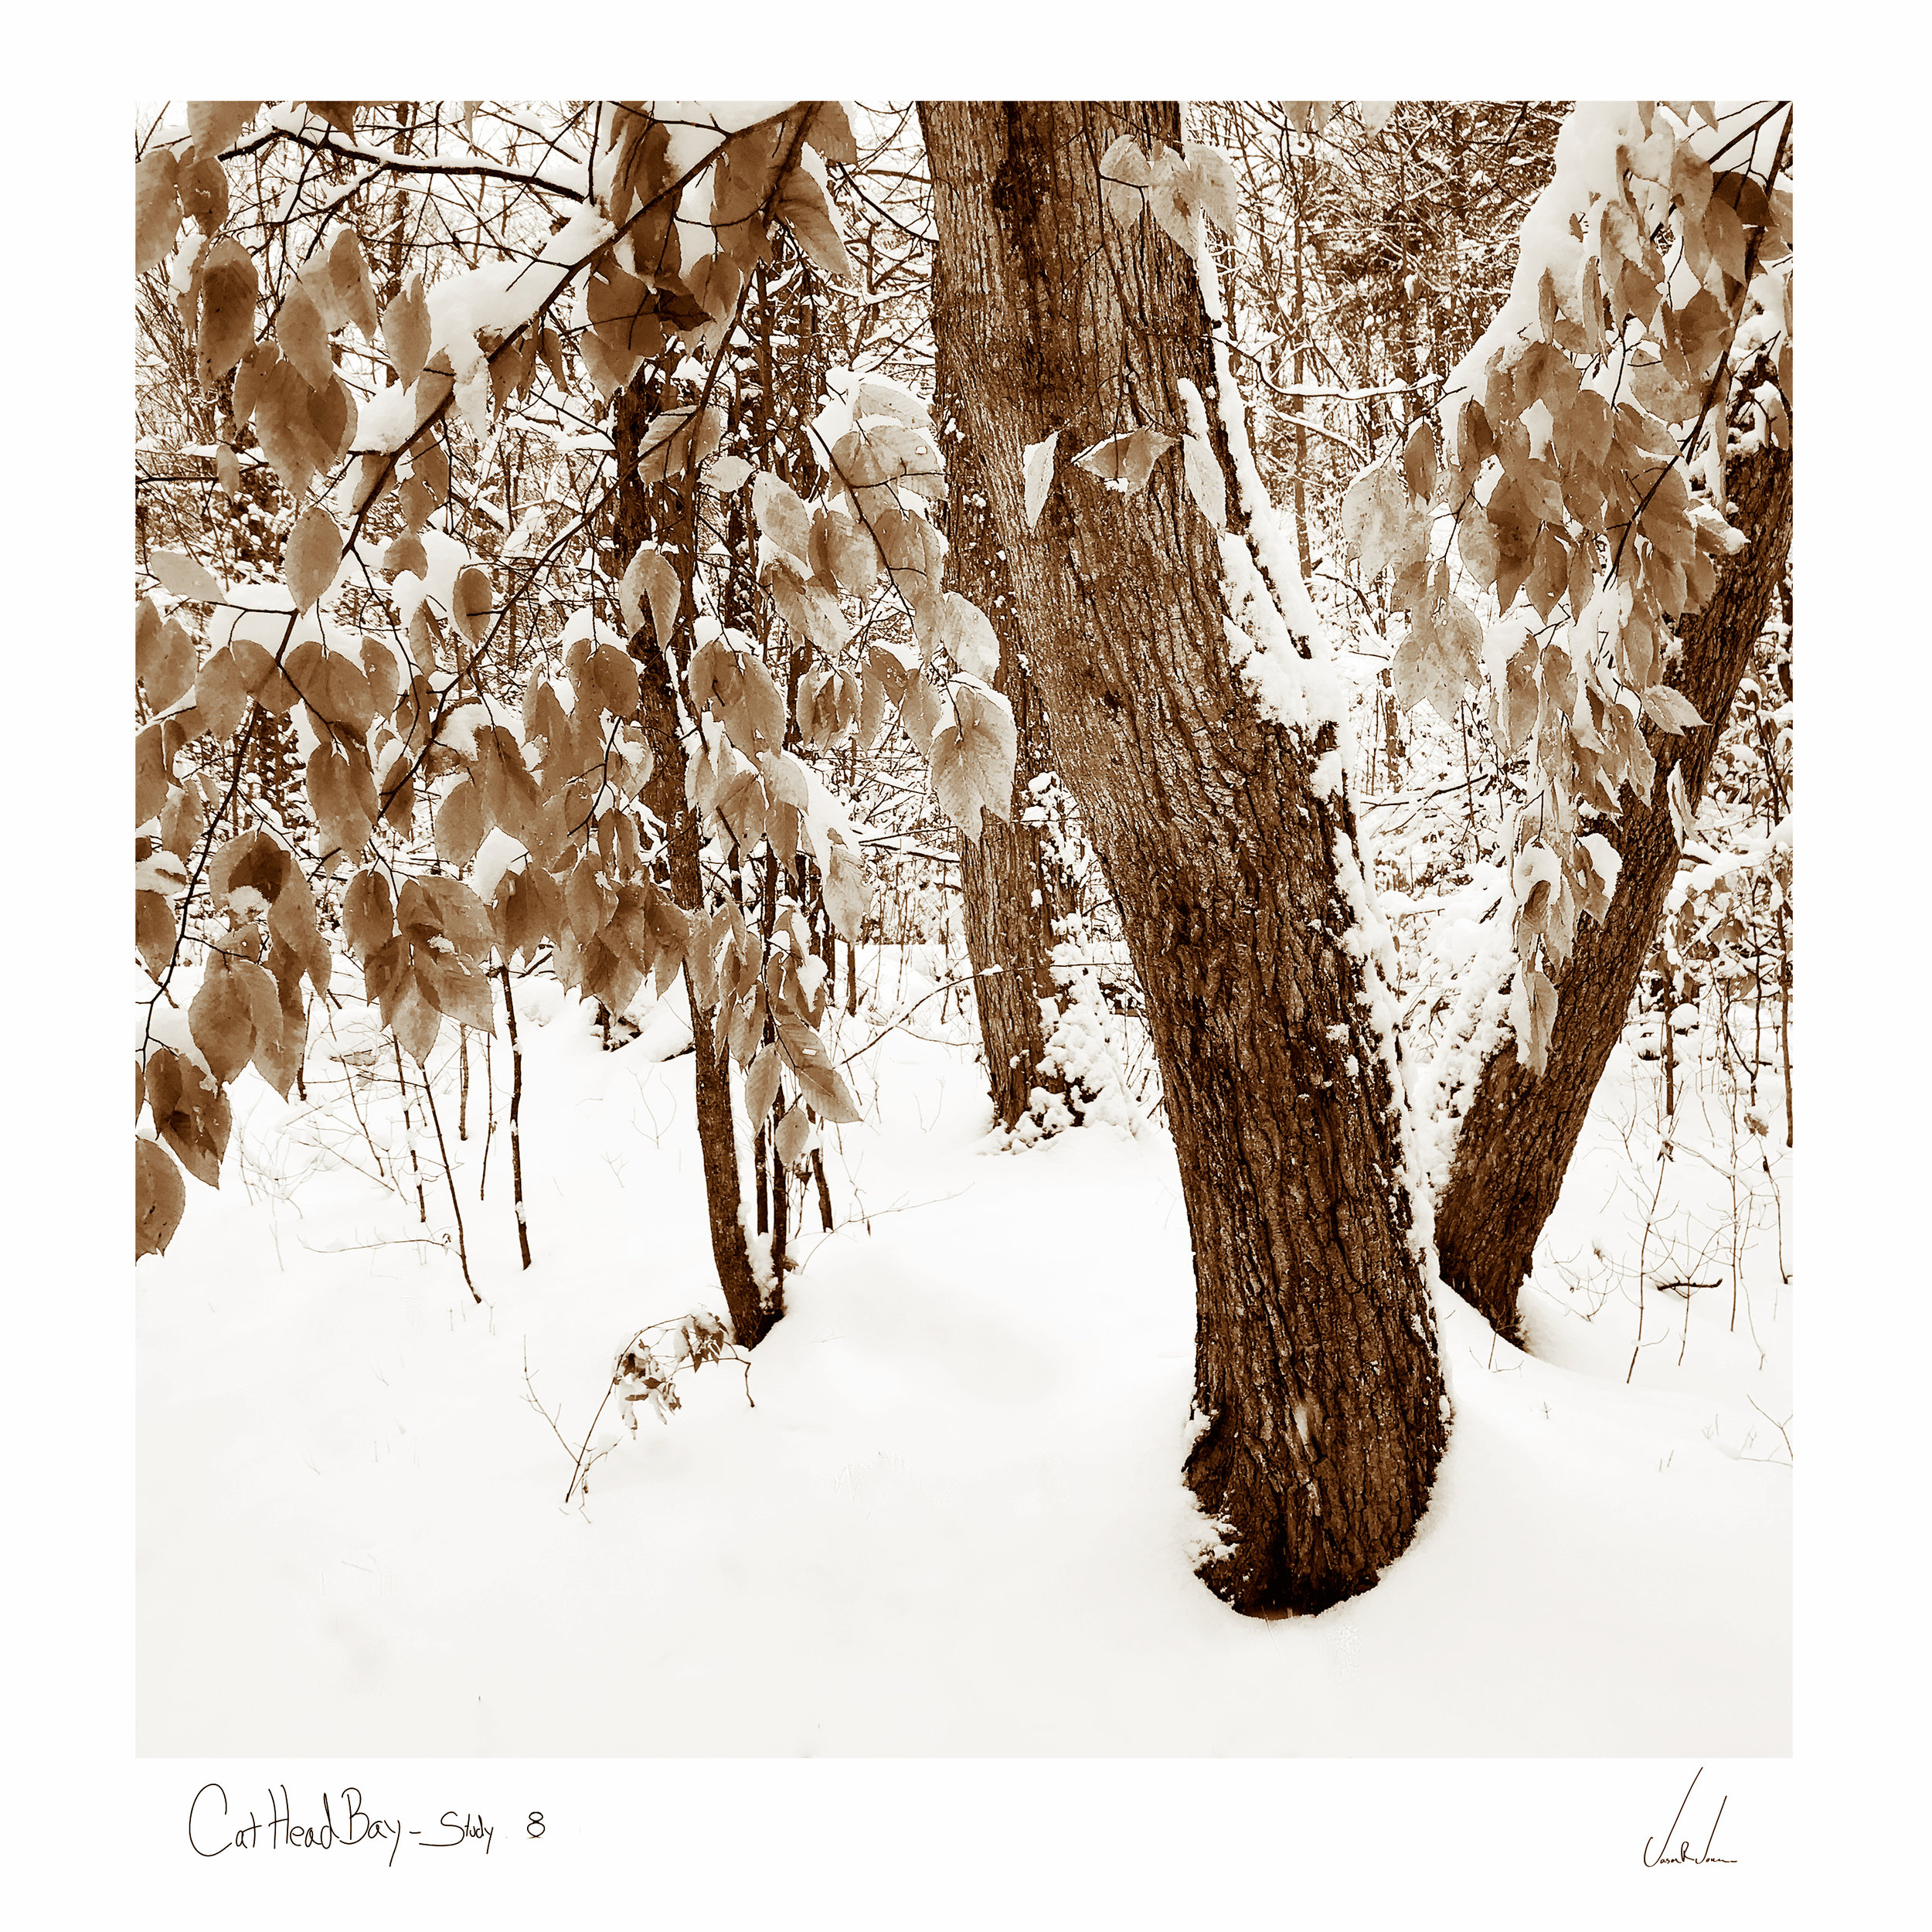
Its now nearly 2019 and not much has change in terms of my approach and workflow. I have recently picked up a Hasselblad 501c as I have taken an interest in the 6x6 square format. I have also begun to experiment more with black and white film as Michael Kenna has had some recent influence over me. What has changed however has been my philosophy specifically toward maintaining a very narrow mindset on the way and which tools I employ to produce my work. In fact I have committed what I hold to be the “Cardinal Sin” in my image making process, I will explain. As I mentioned I have taken a keen interest in the square format as well as working in black and white. One morning on a mid November day in Northern Michigan my Wife, daughter and I awoke to a fresh blanket of white powdery snow. It was so beautiful and me being recently inspired by Michael Kenna and his minimalistic style suggested we all head out for a nice brisk hike to Cat Head Bay, a perched dune playground on the northern most tip of the Leelanau Peninsula where we live. Apart from the exercise and immersion into nature I had a selfish reason for the hike, which was to experiment photographically with minimalism in the freshly fallen snow. Now my family knows me very well by now and sometime I’m met with resistance if they know my sole purpose is to drag them along while I obsess over the landscape through the lens of my camera so I deliberately left the hassy at home. I did however take the one device that is accepted and almost expected to be carried by every sing bipedal organism with an enlarged prefrontal cortex, my iPhone. Now I have certainly taken many shots with this device in the past and even use it as a compositional and conceptual tool in my work but I would never do the unthinkable and try to pass of the results as fine art or serious photography that is simply unheard of and preposterous. It could ruin me! How could I ever take myself seriously as an artist, image maker, or fine art photographer if I were to give legitimacy to anything produce from an iPhone capture? How indeed!
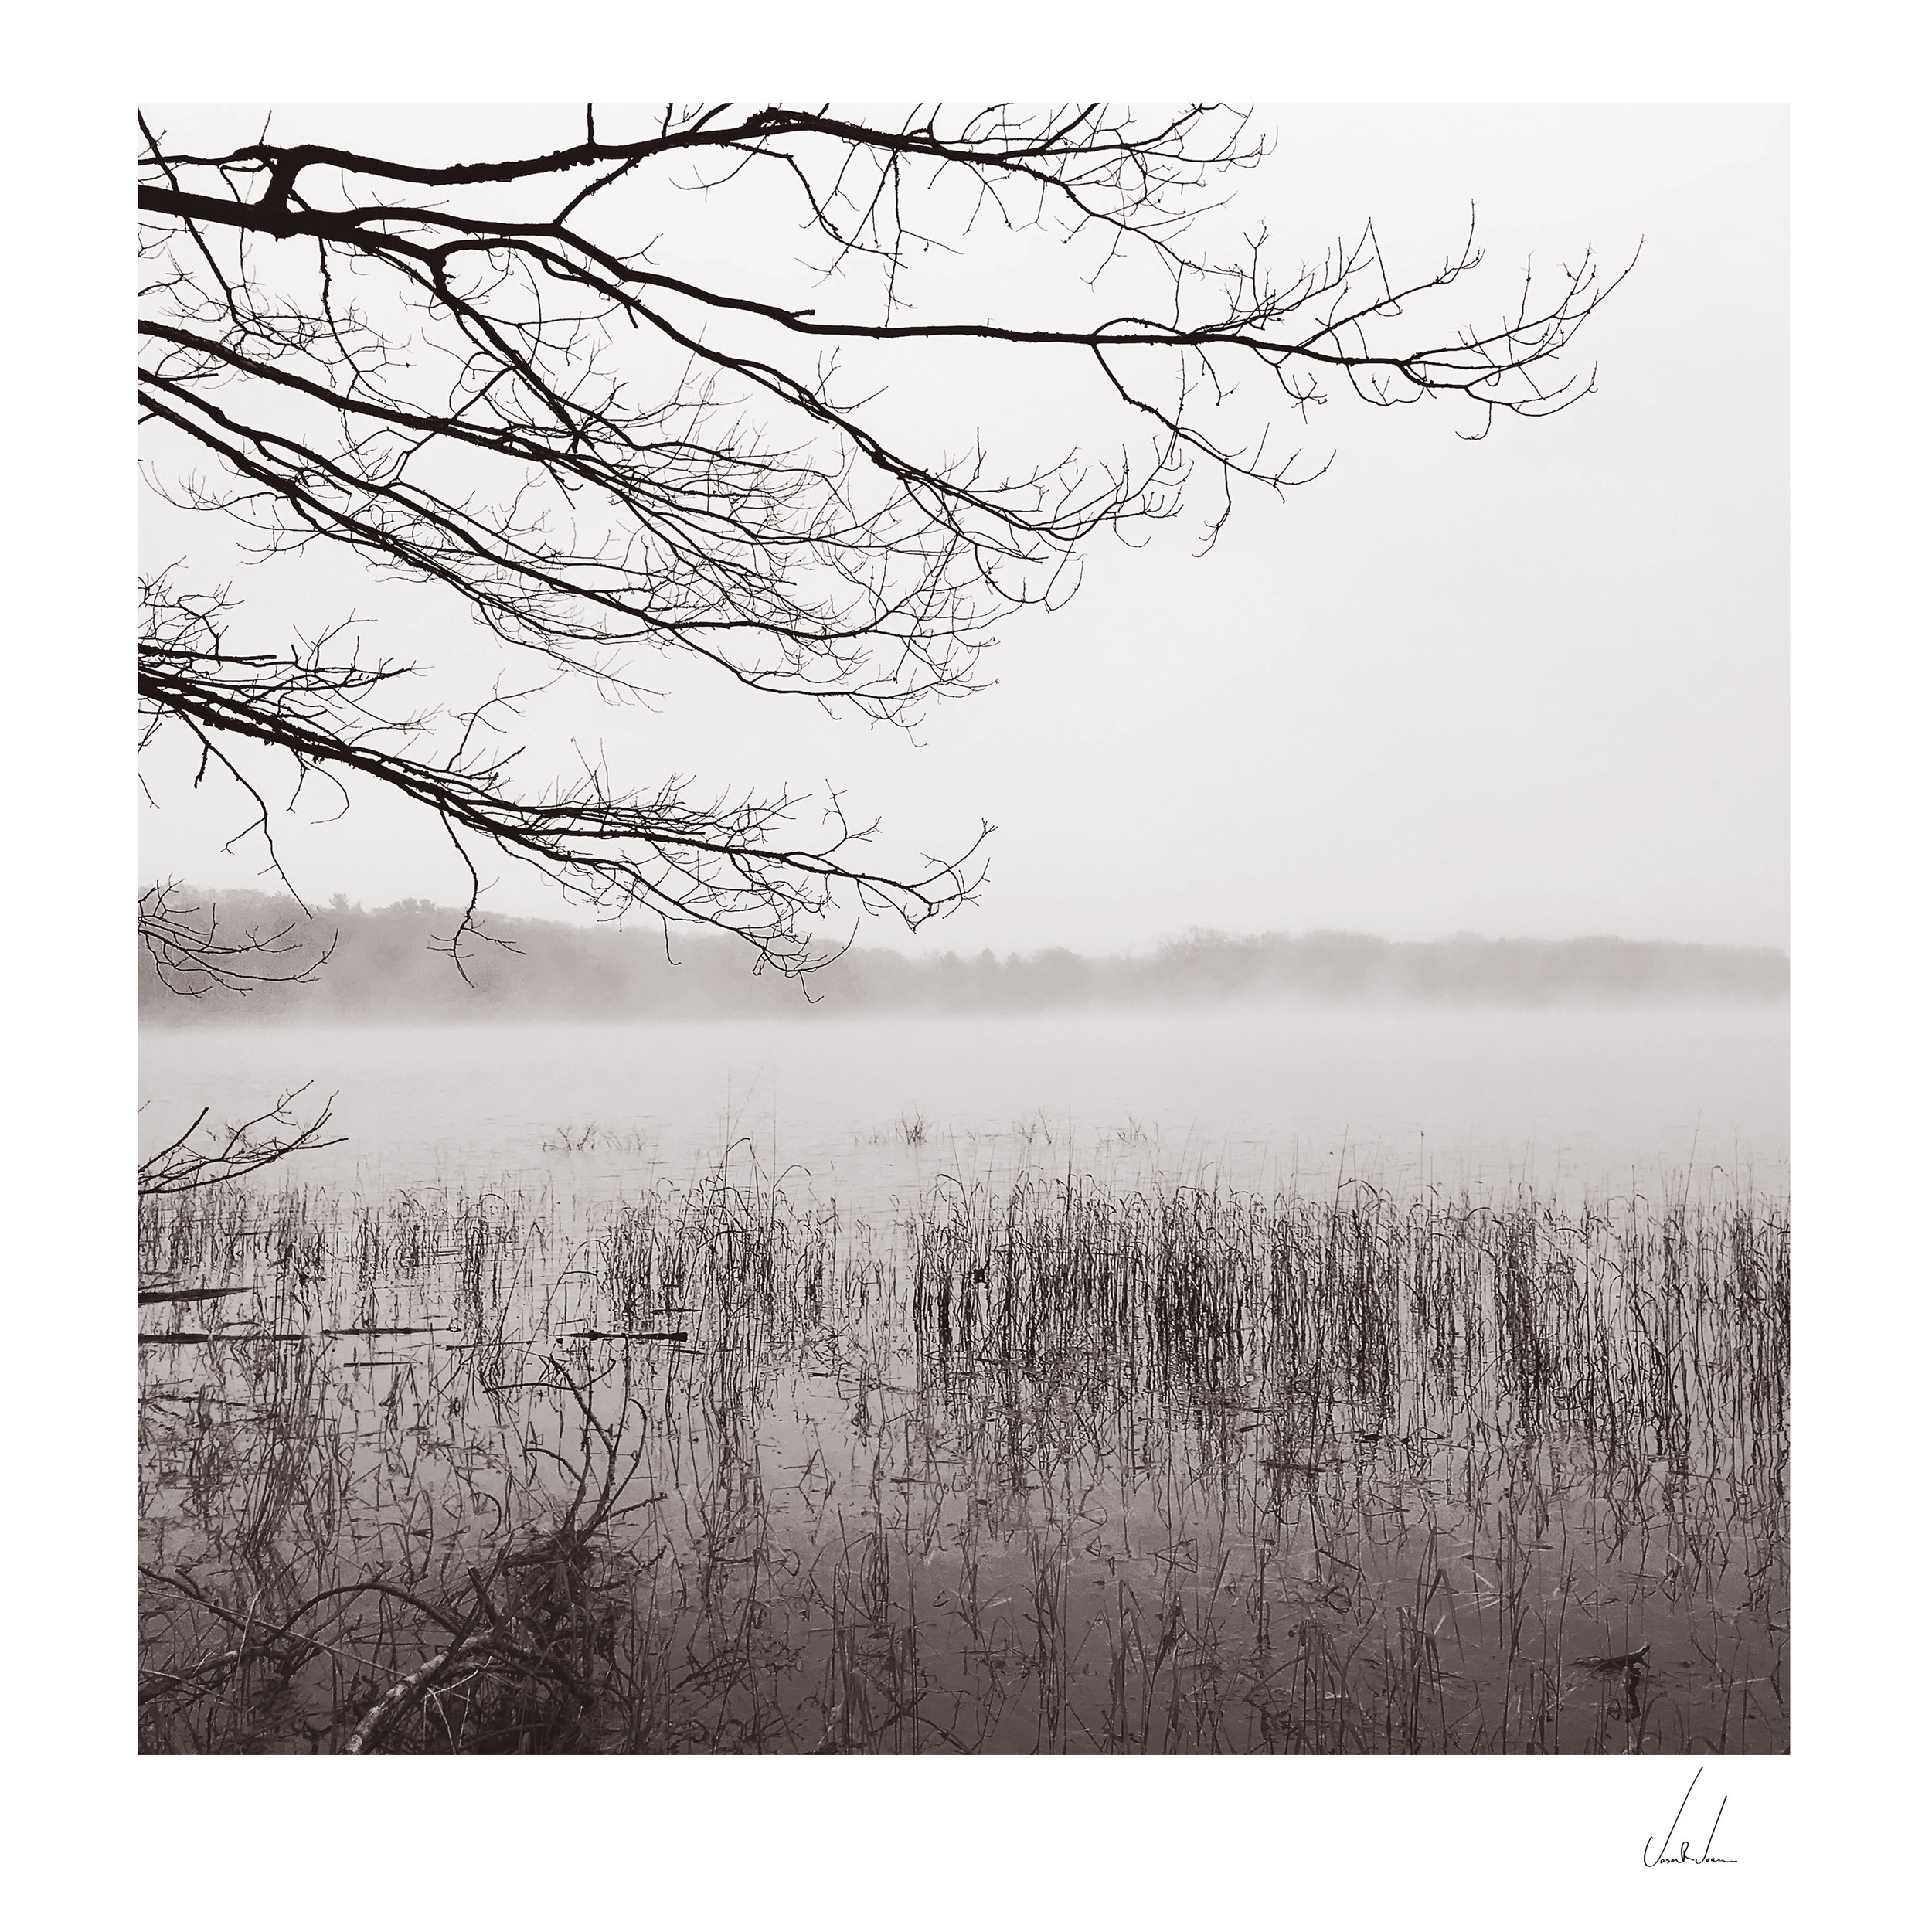
Well the images I made that day while hiking with my family at Cat Head Bay have turned out to be some of my favorite work produced to date and I was so pleased with the results it inspired me to go back and work on several images I have made with my iPhone in the past. I of course took them all into Photoshop and processed them the same way I would a large format scan but that’s not the point. The point is I like these images, I’m proud of these images and for once in my life I’m glad I decided not to take myself and my process so seriously and just have fun and make images regardless of the camera or the capture method I employed.

So this is the point of this long-winded article you have hopefully found yourself at the bottom of and that point is to HAVE FUN! Don’t take yourself, your work and your process too seriously as doing so will impose constraints that block creativity. Let yourself be open for experimentation and don’t get hung up on the how’s and whys of the process just have fun and try new things because in the end it’s about the art that you make not how the art gets made. I of course ran right out the next morning by myself with the Hasselblad to try to retake every image I made the day before on my iPhone, (old habits die hard) but that never really works out like you plan. That day had come and gone, the landscape had changed. Someone had been out walking their dog and there where tracks all over the place. The tide had come in and washed all the snow from the beach and it was warmer and there had been a bit of a melt. I did manage to finish a roll of Kodak T-max 100 however and I hope to get some good images out of it but to be honest I am truly happy with what I had achieved the previous day with my iPhone.
So I decided to do the unthinkable, I added a gallery titled “The Unthinkable Gallery” to my website to help remind me to not take myself so seriously, to give light to the work I had made with my iPhone and to stand as testament to others that in the end it’s about the art that you make not how the art gets made.